Craft Ideas for Kids - Tie Dye Kit for Kids
Activity Duration: 1.5 - 3 hours (in 2 sessions)
Tie dying is a really versatile activity that so many children absolutely love. This activity suits ages from about 6 to 12-years-old and the bonus is that you end up with items of clothes your children can wear for months to come.
I have fond memories of making tie dyed clothes when I was young, buying individual packets of coloured dye, string and white clothes. These days, there is a huge number of tie dye kits available, meaning you only need to buy some white clothes and you have everything you need to get going.
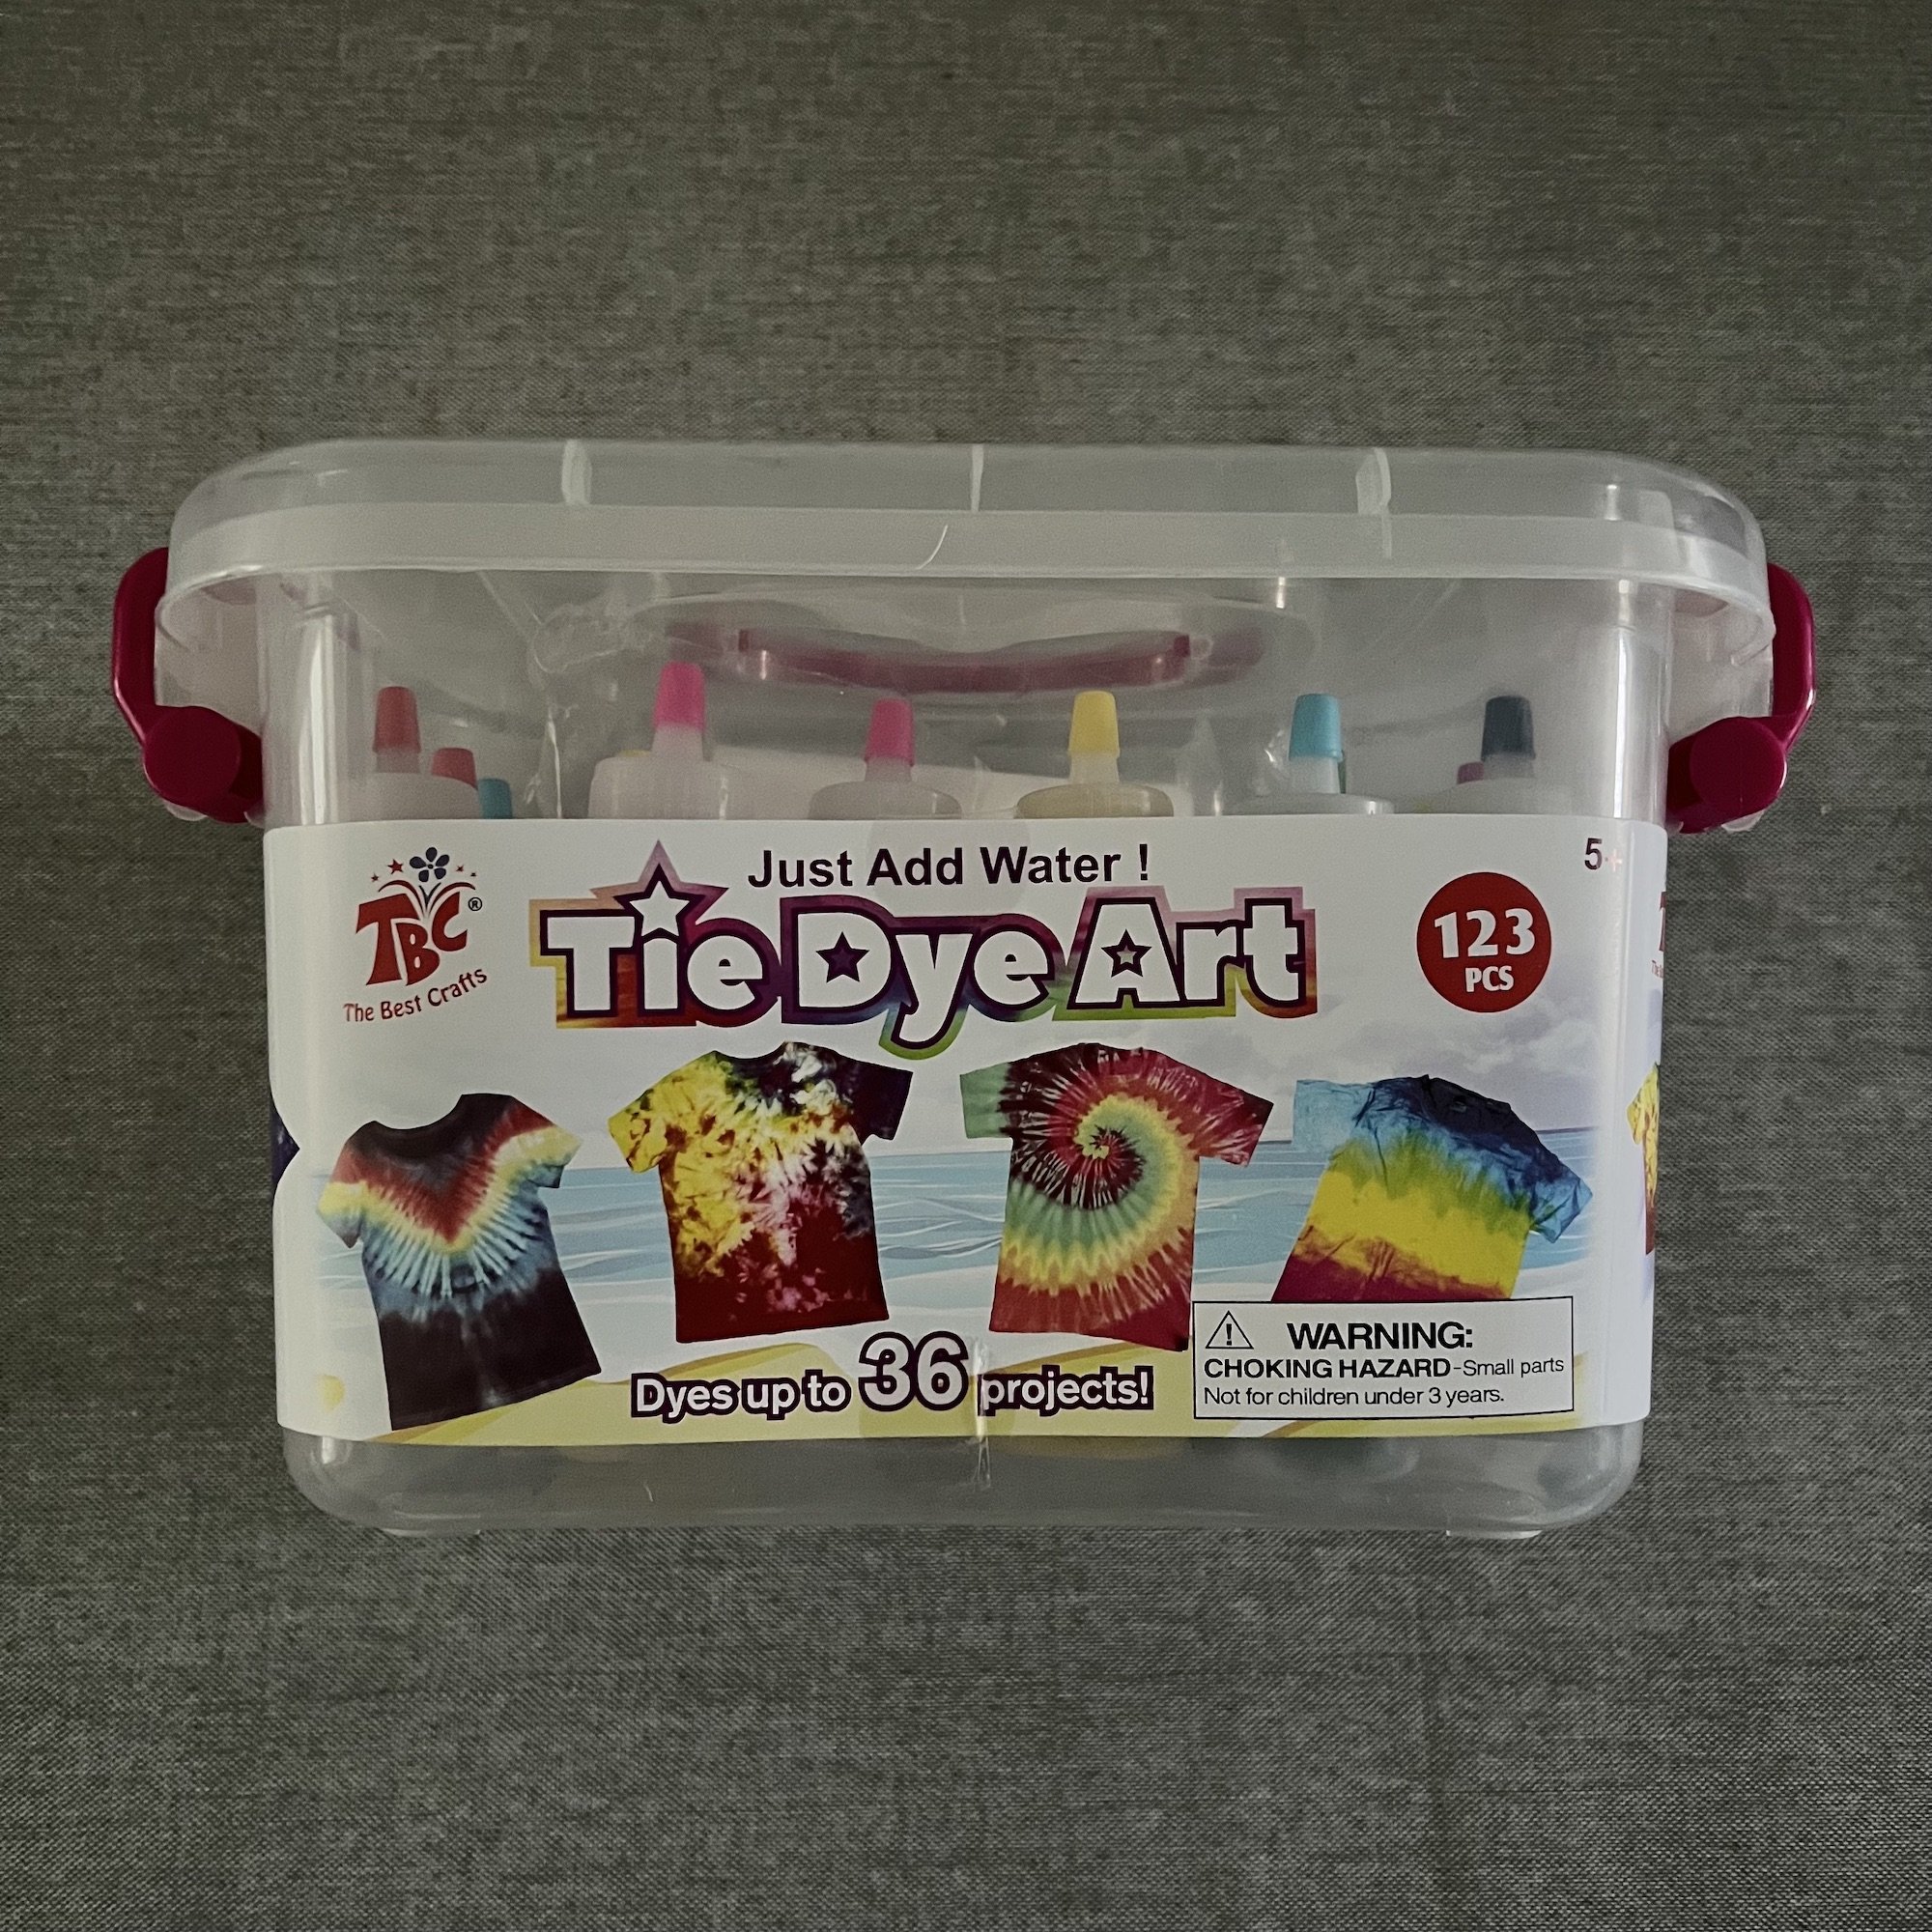
This is a great activity for school holidays and rainy days. Below I have provided instructions on what to do, together with a review of the TBC (The Best Crafts) Tie-Dye Art Kit.
Table of Contents
Equipment needed for Tie Dying
Apron
Old tablecloth
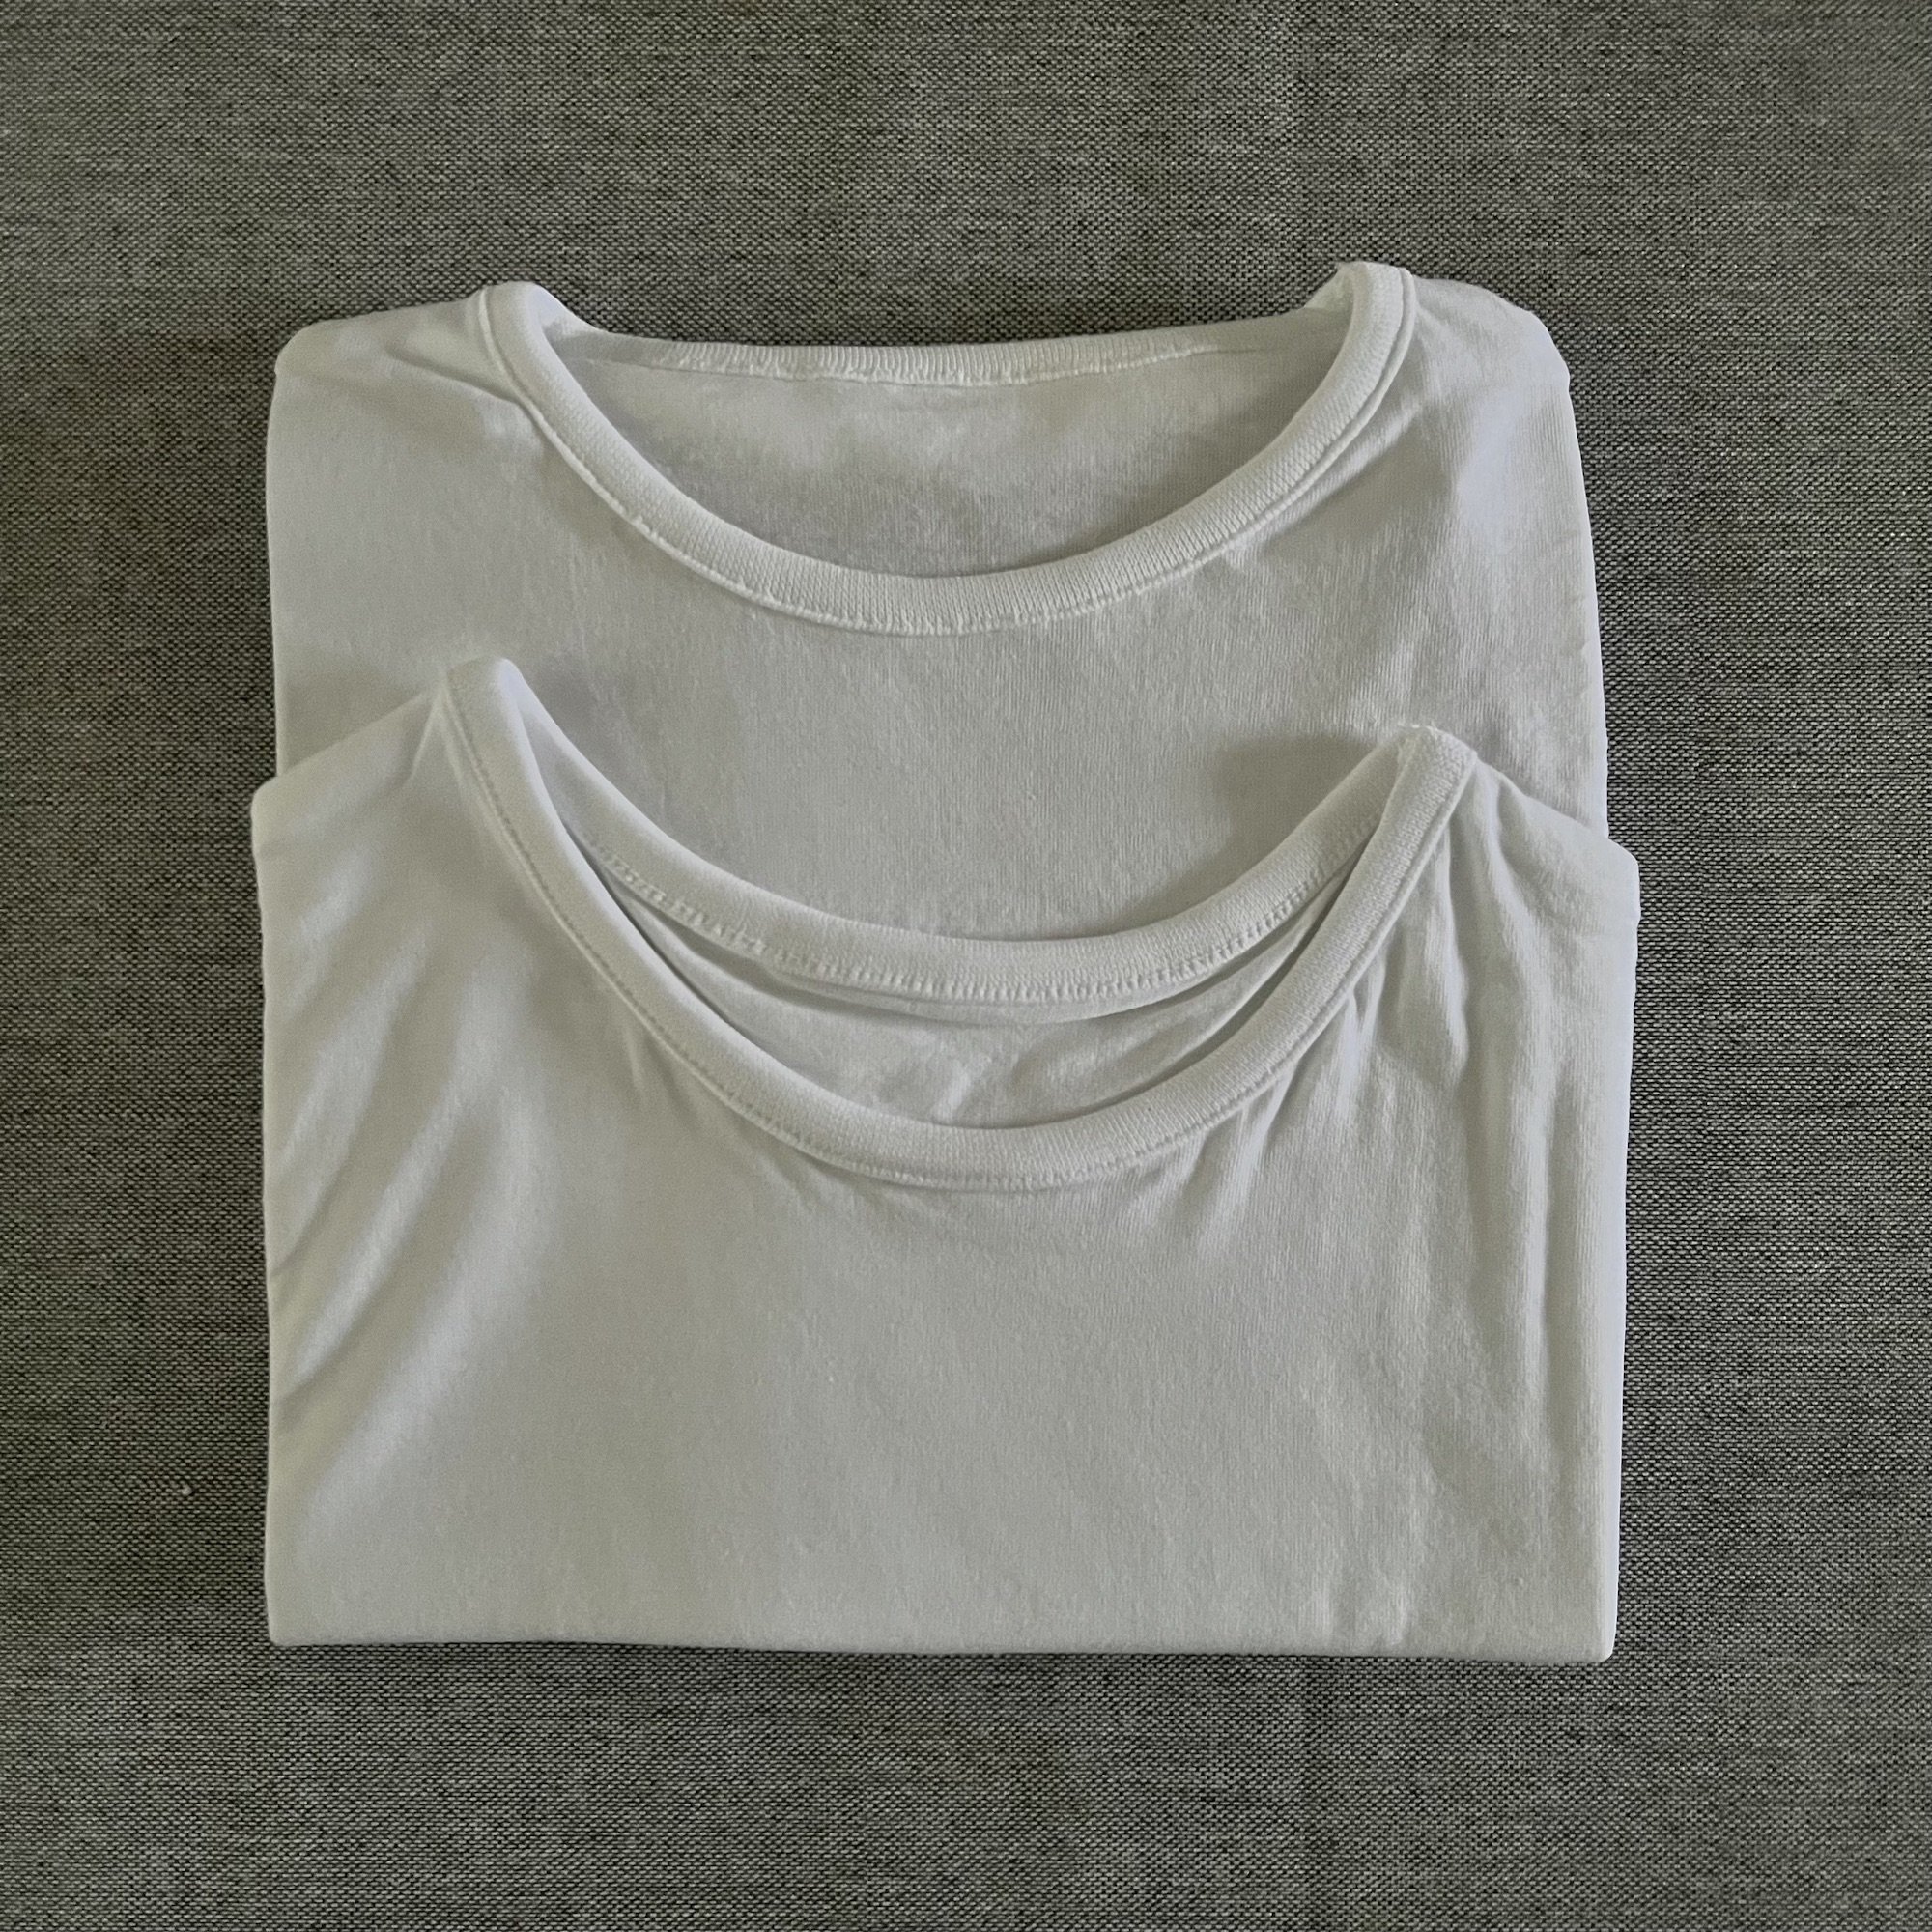
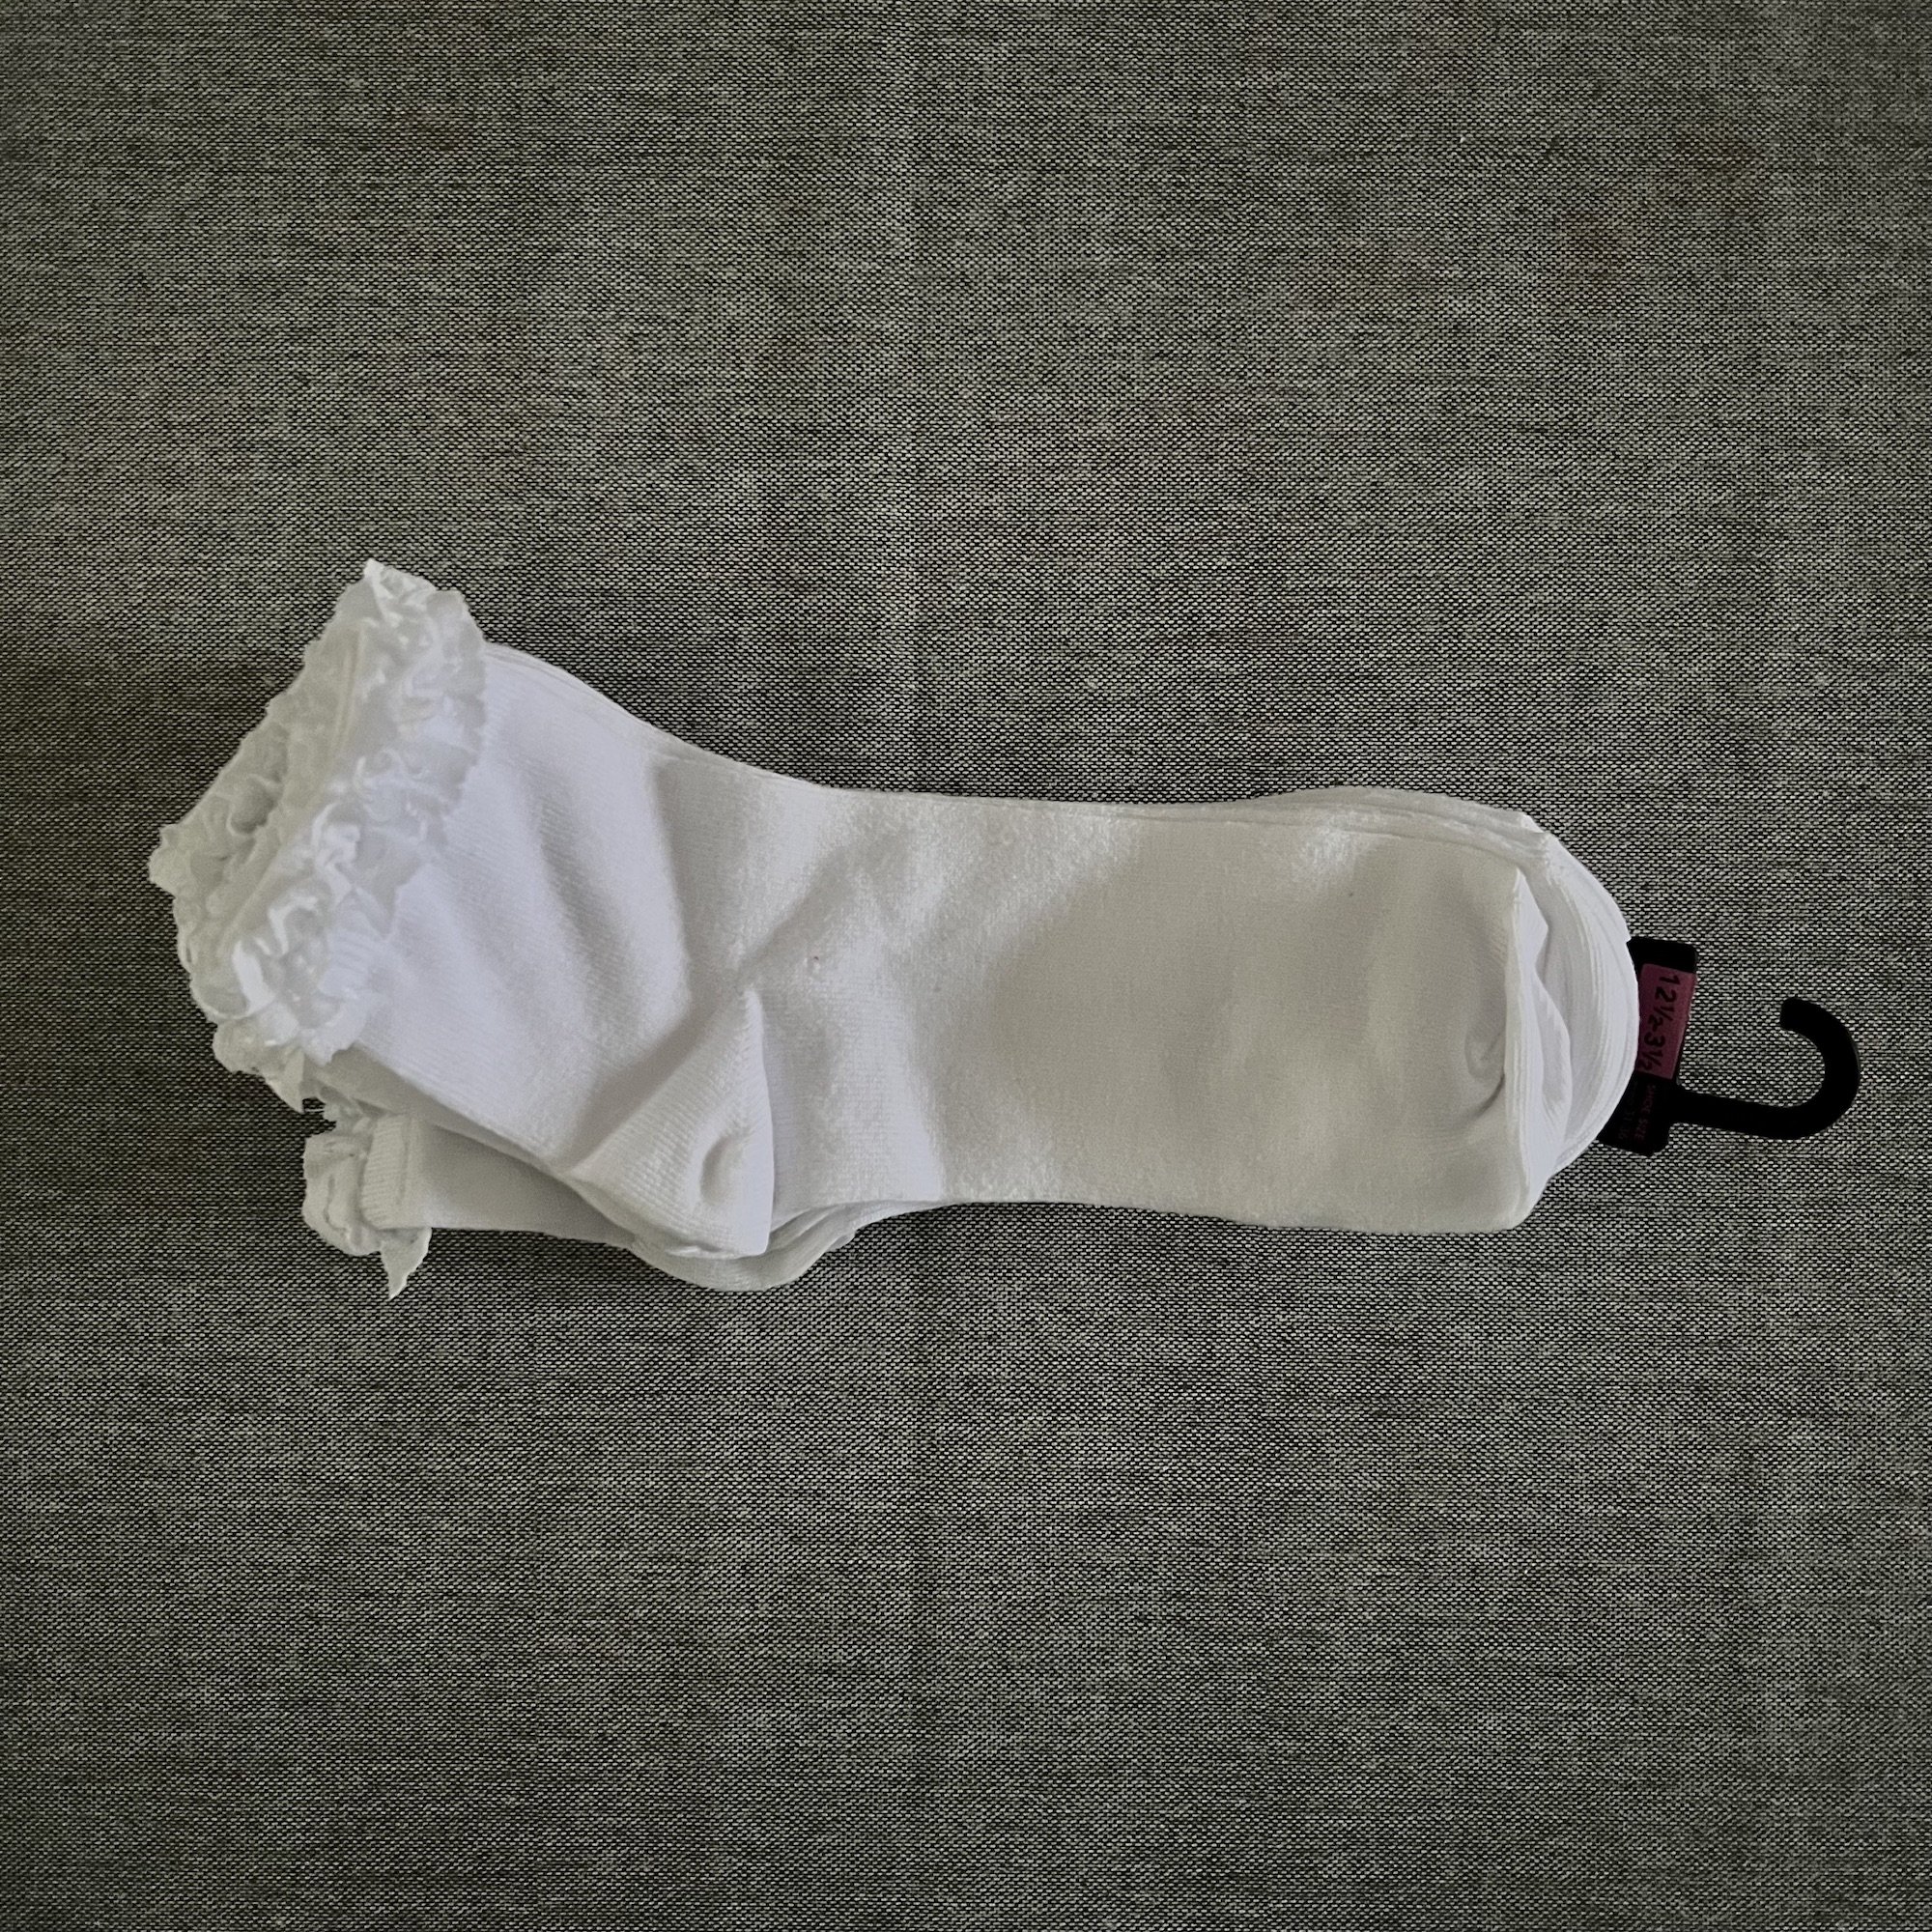
White clothes - e.g. T-Shirts, socks
Plastic bags
1 x TBC (The Best Crafts) Tie-Dye Art Kit
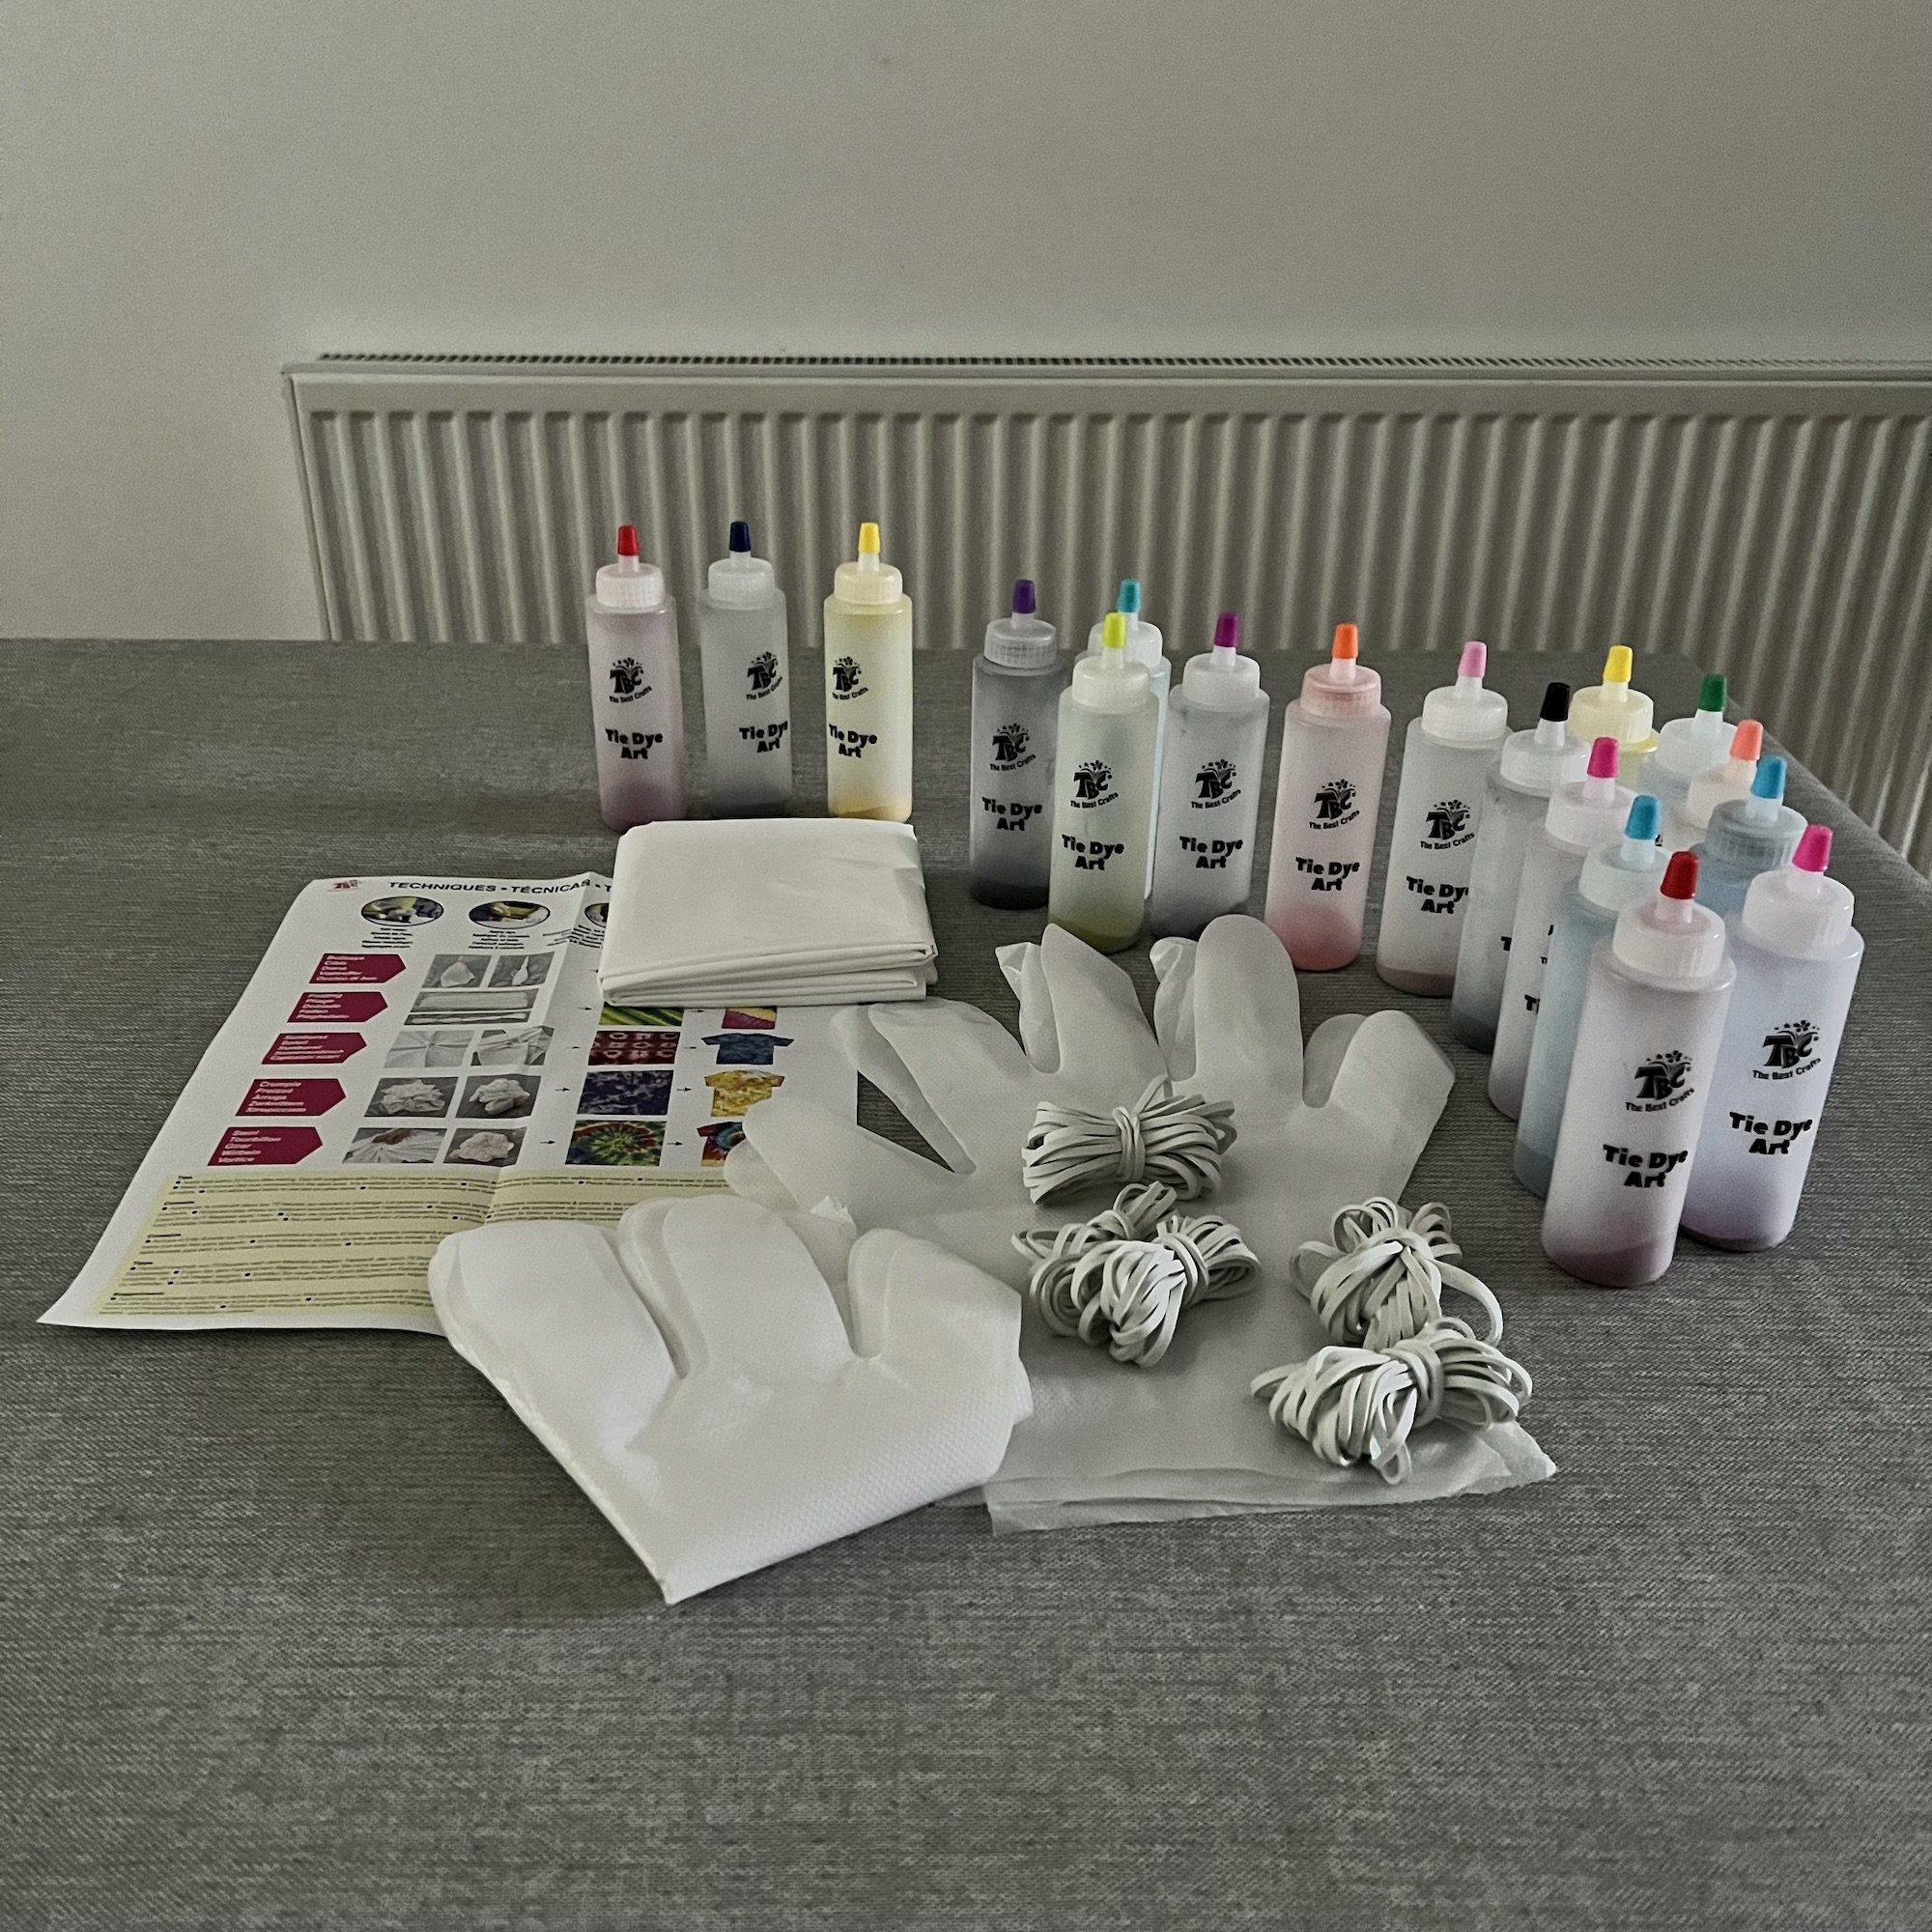
The TBC (The Best Crafts) Tie-Dye Art Kit includes:
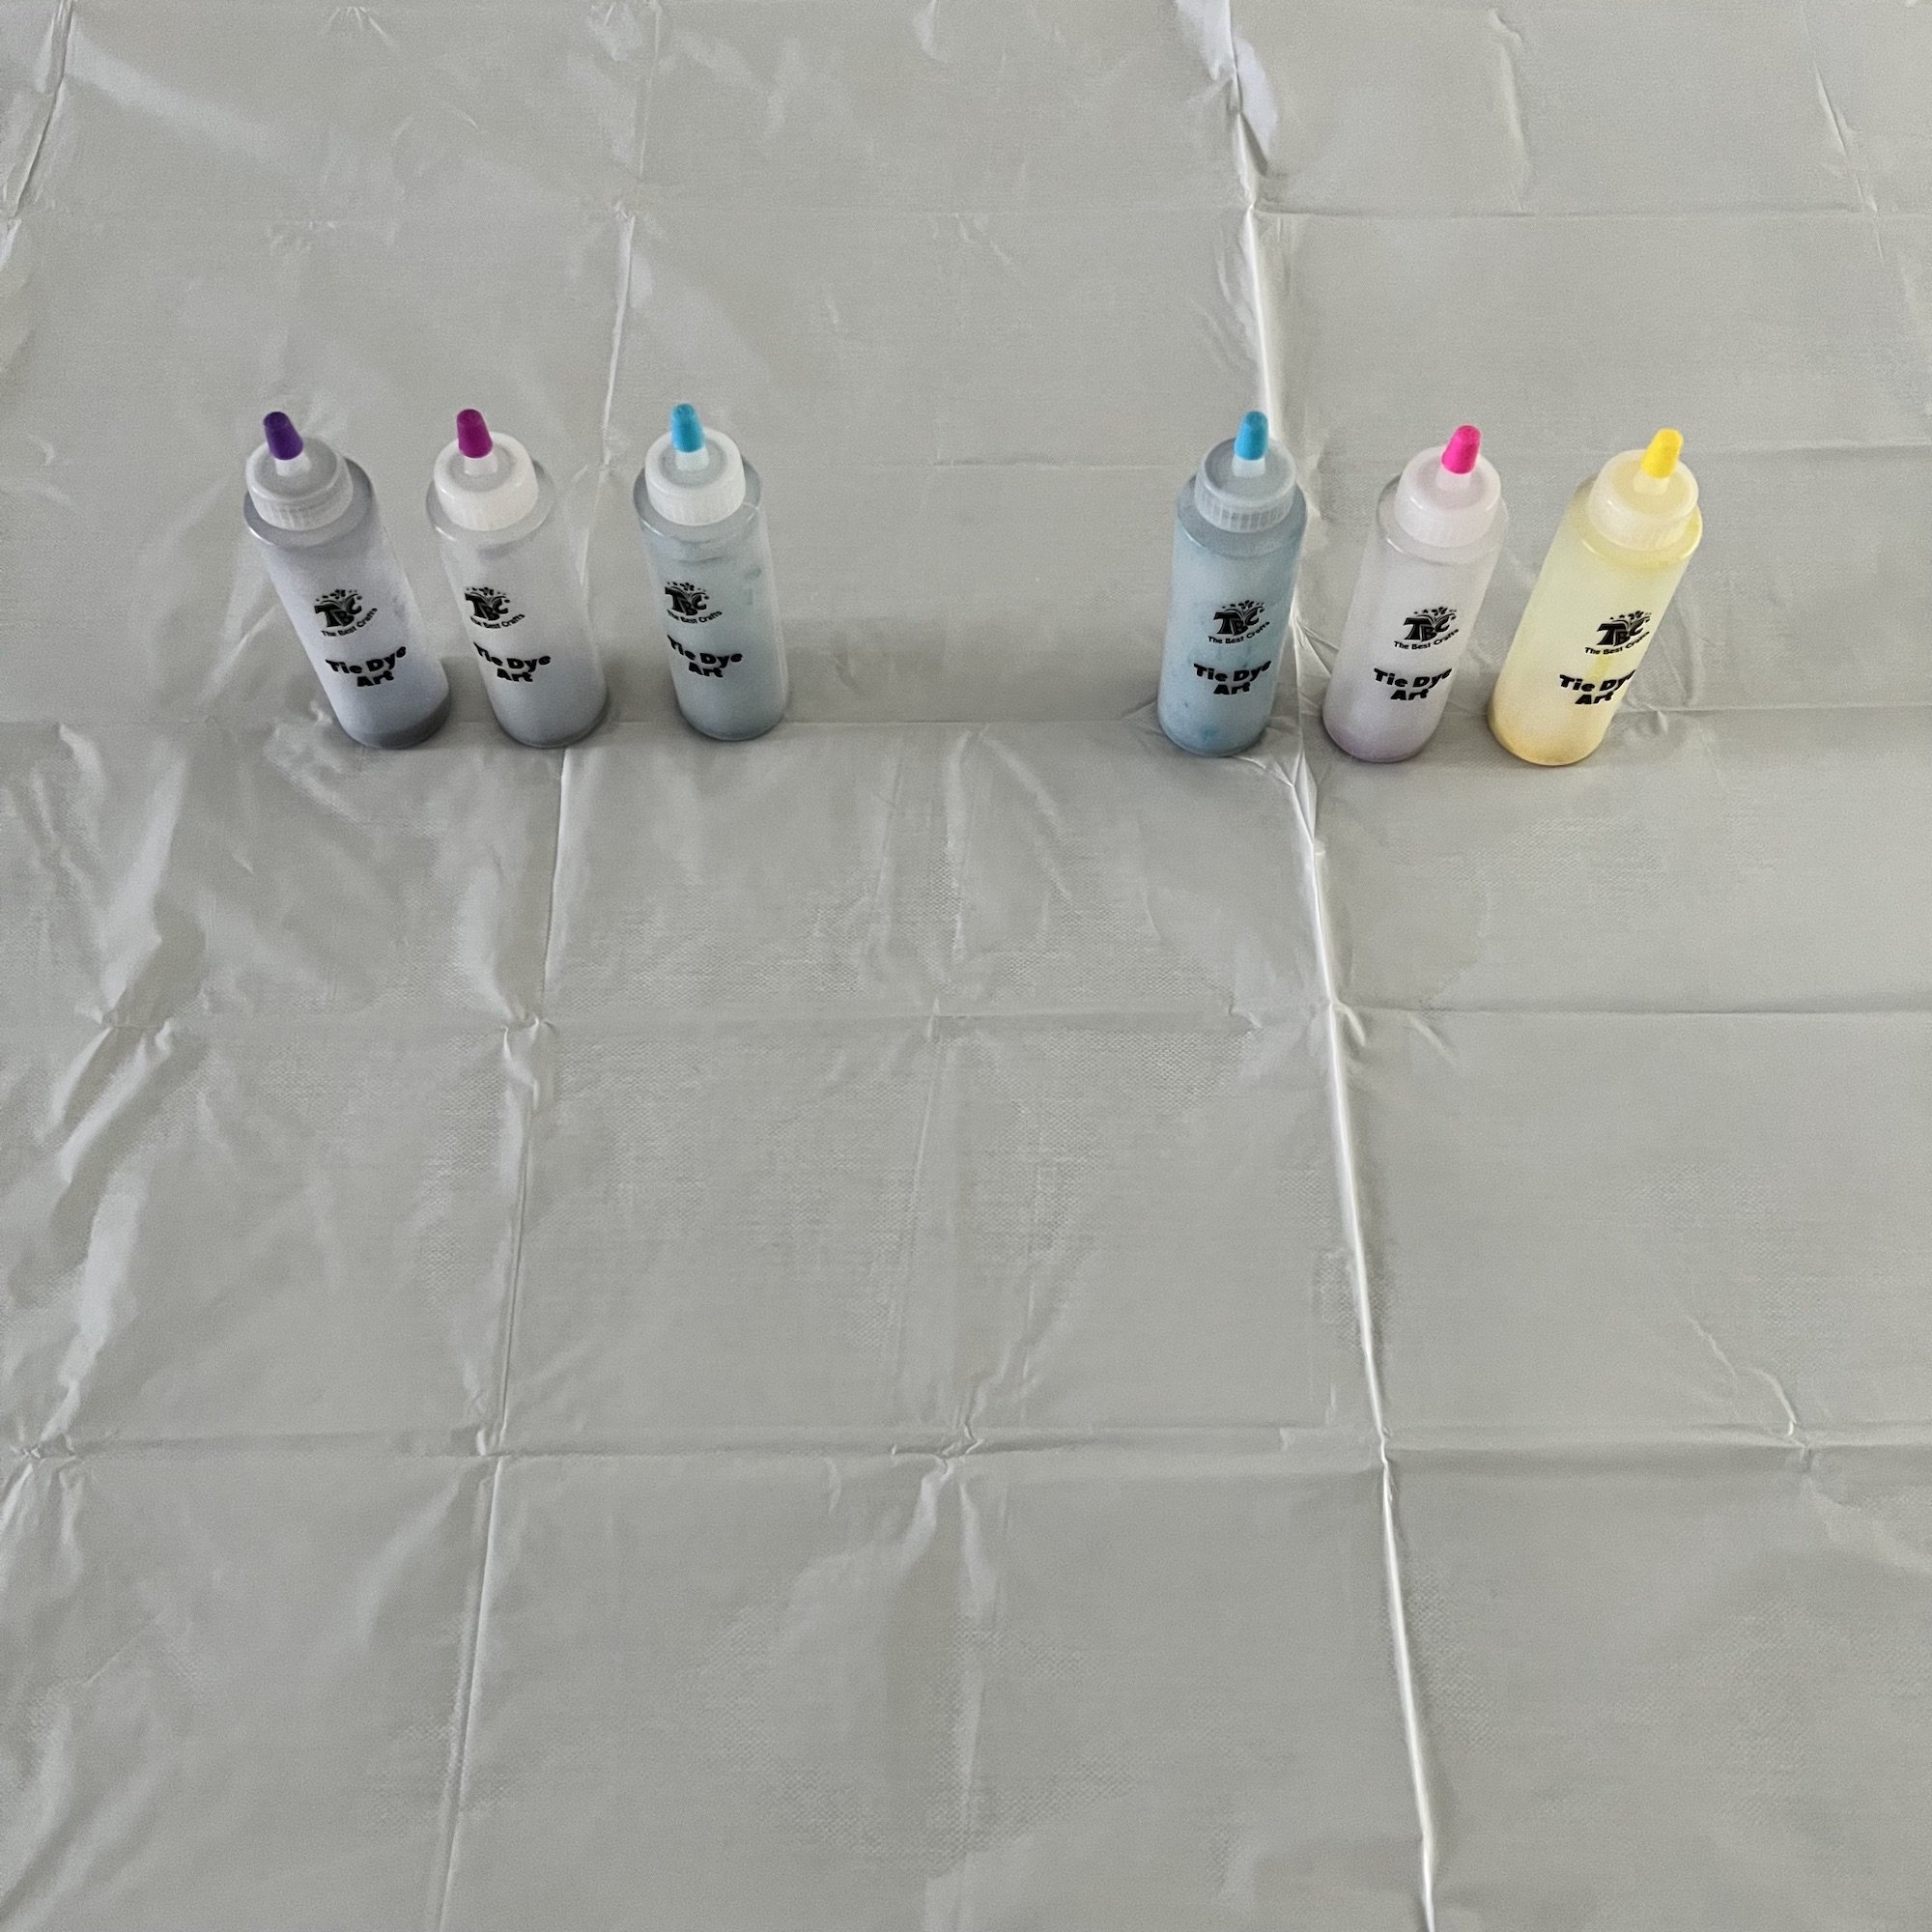
18 x Bottles of dye in various colours
12 x Protective Gloves
90 x Rubber Bands
1 x Reusable Surface Cover
1 x Instruction Sheet
Instructions to Tie Dye
Preparation - Put aprons on and cover the table. I start any art activity with this vital step! The kit even comes with a protective plastic cover that I put over an old tablecloth.
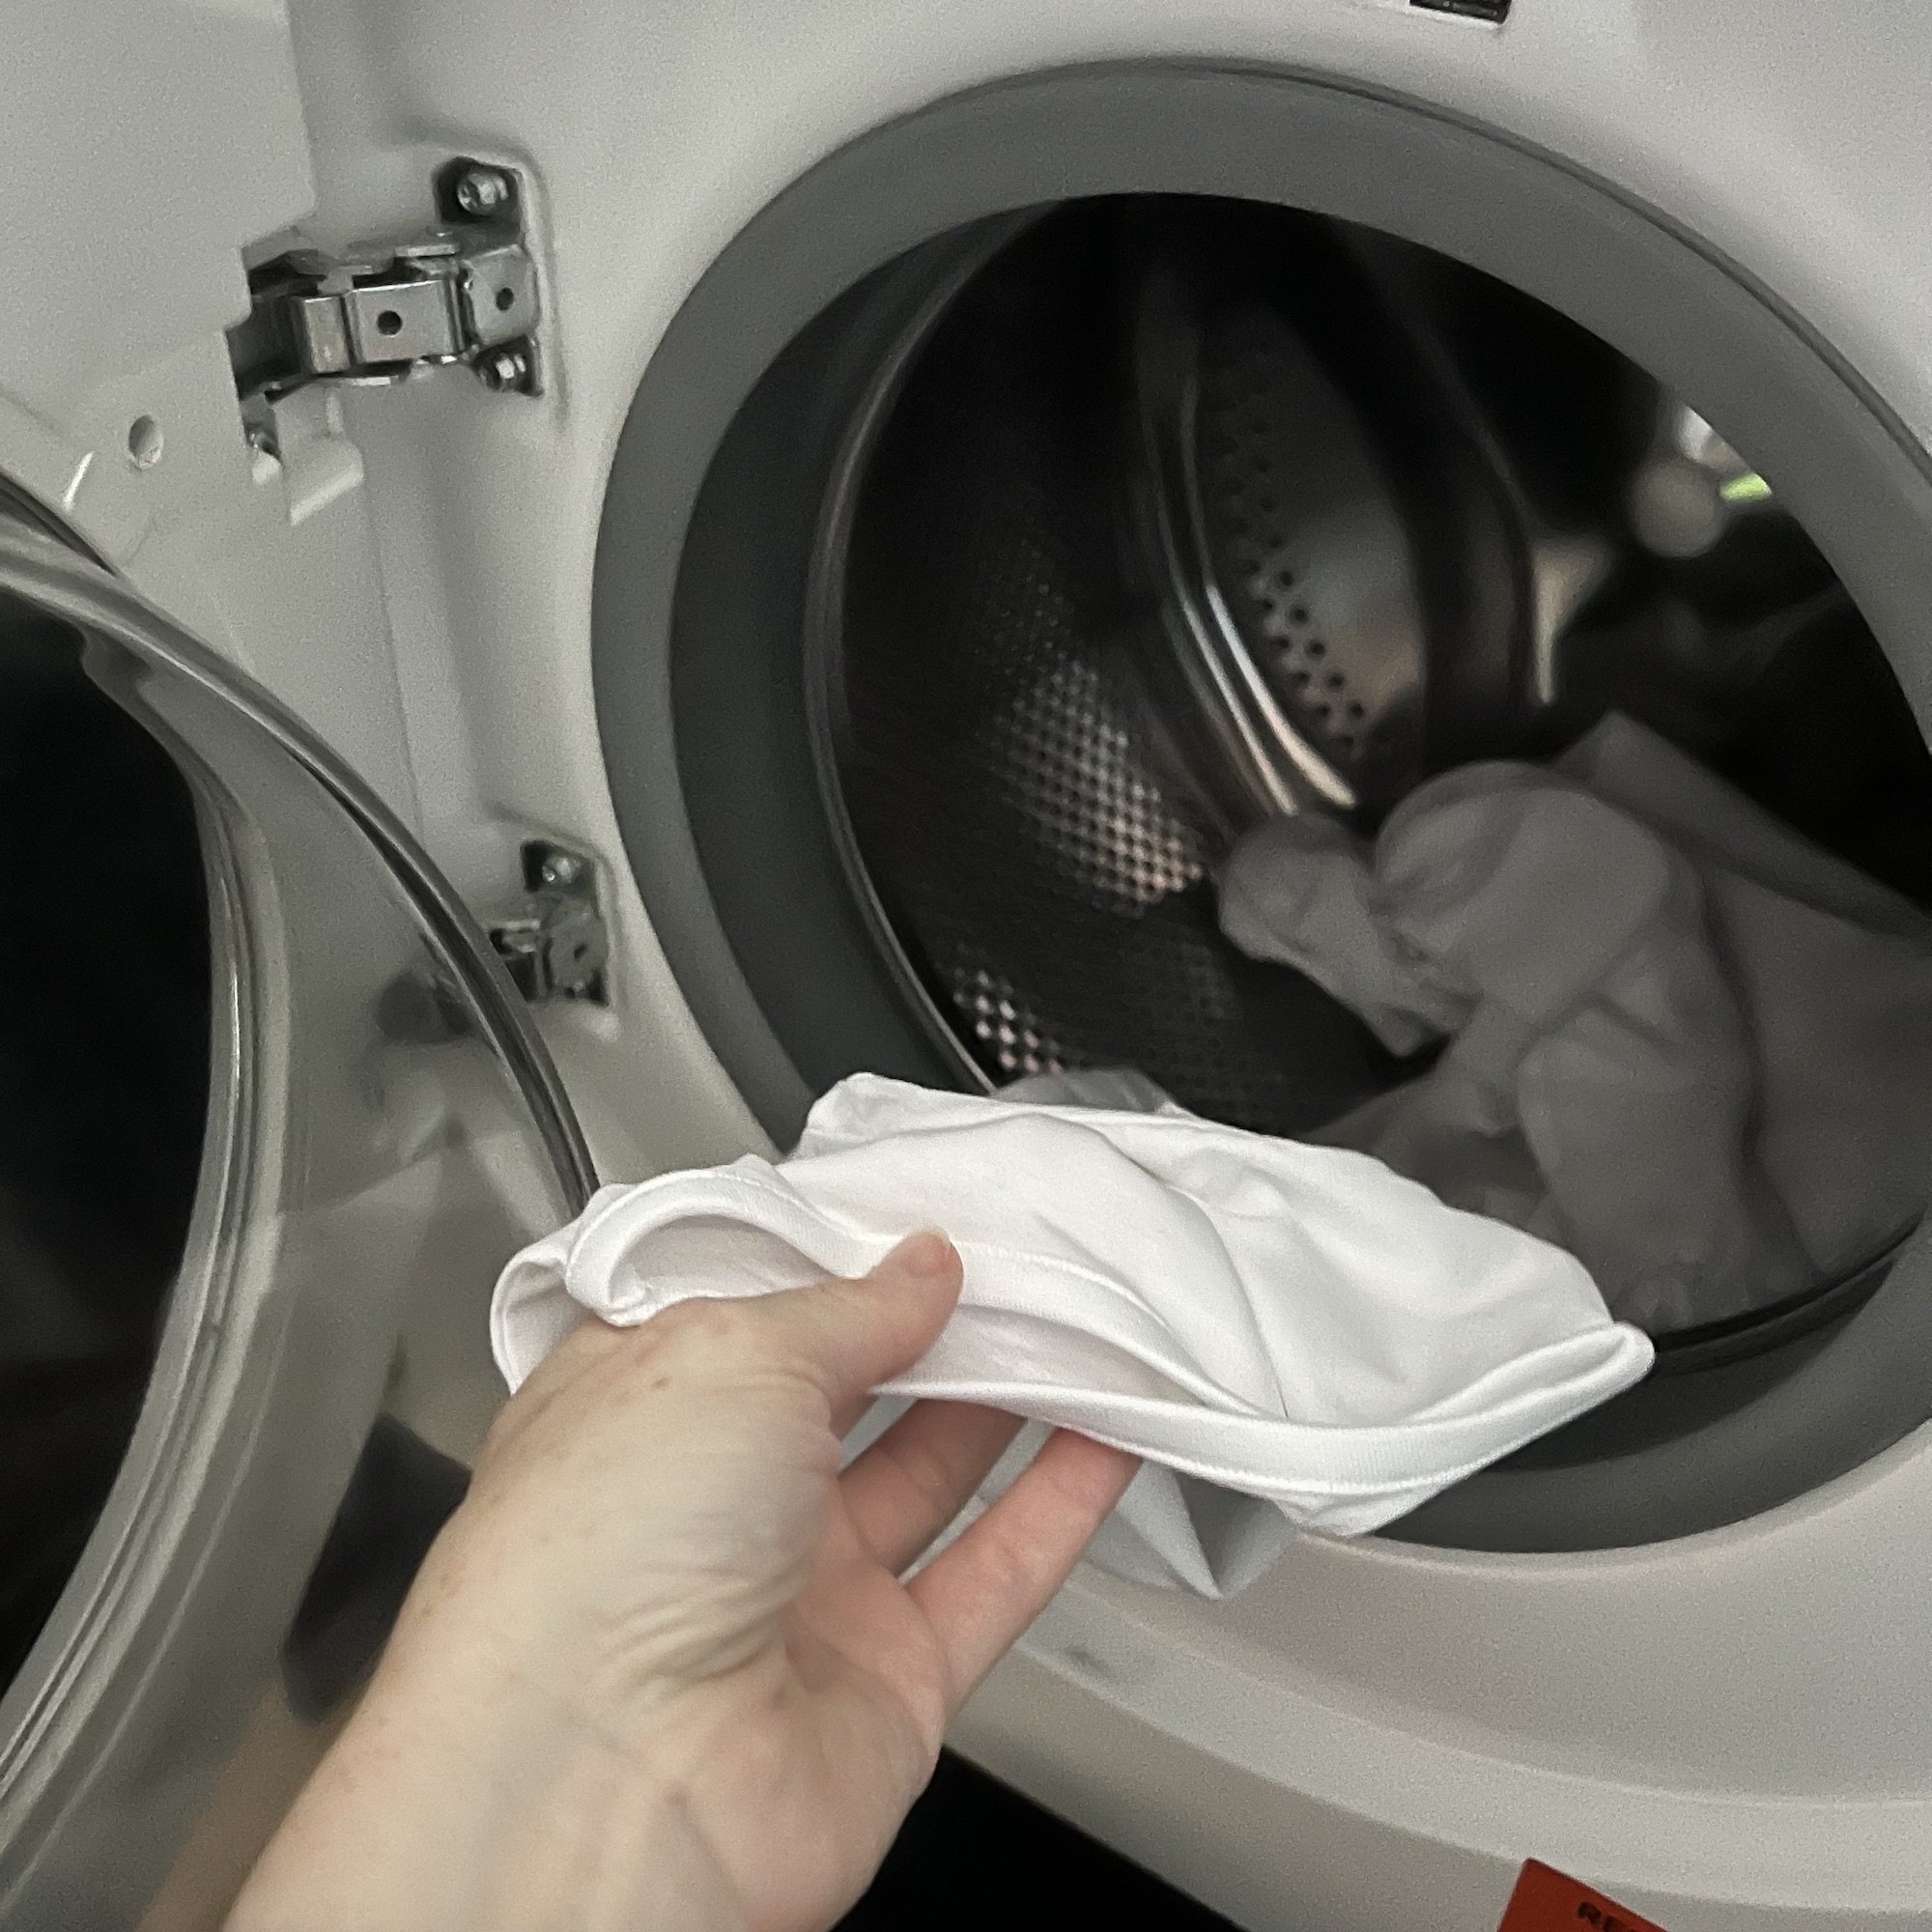
Note: The kit also suggests covering the table cover with a layer of paper towels, but we found these got in our way.Wash the clothes on a quick wash (do not use fabric softener), so that the clothes are damp.
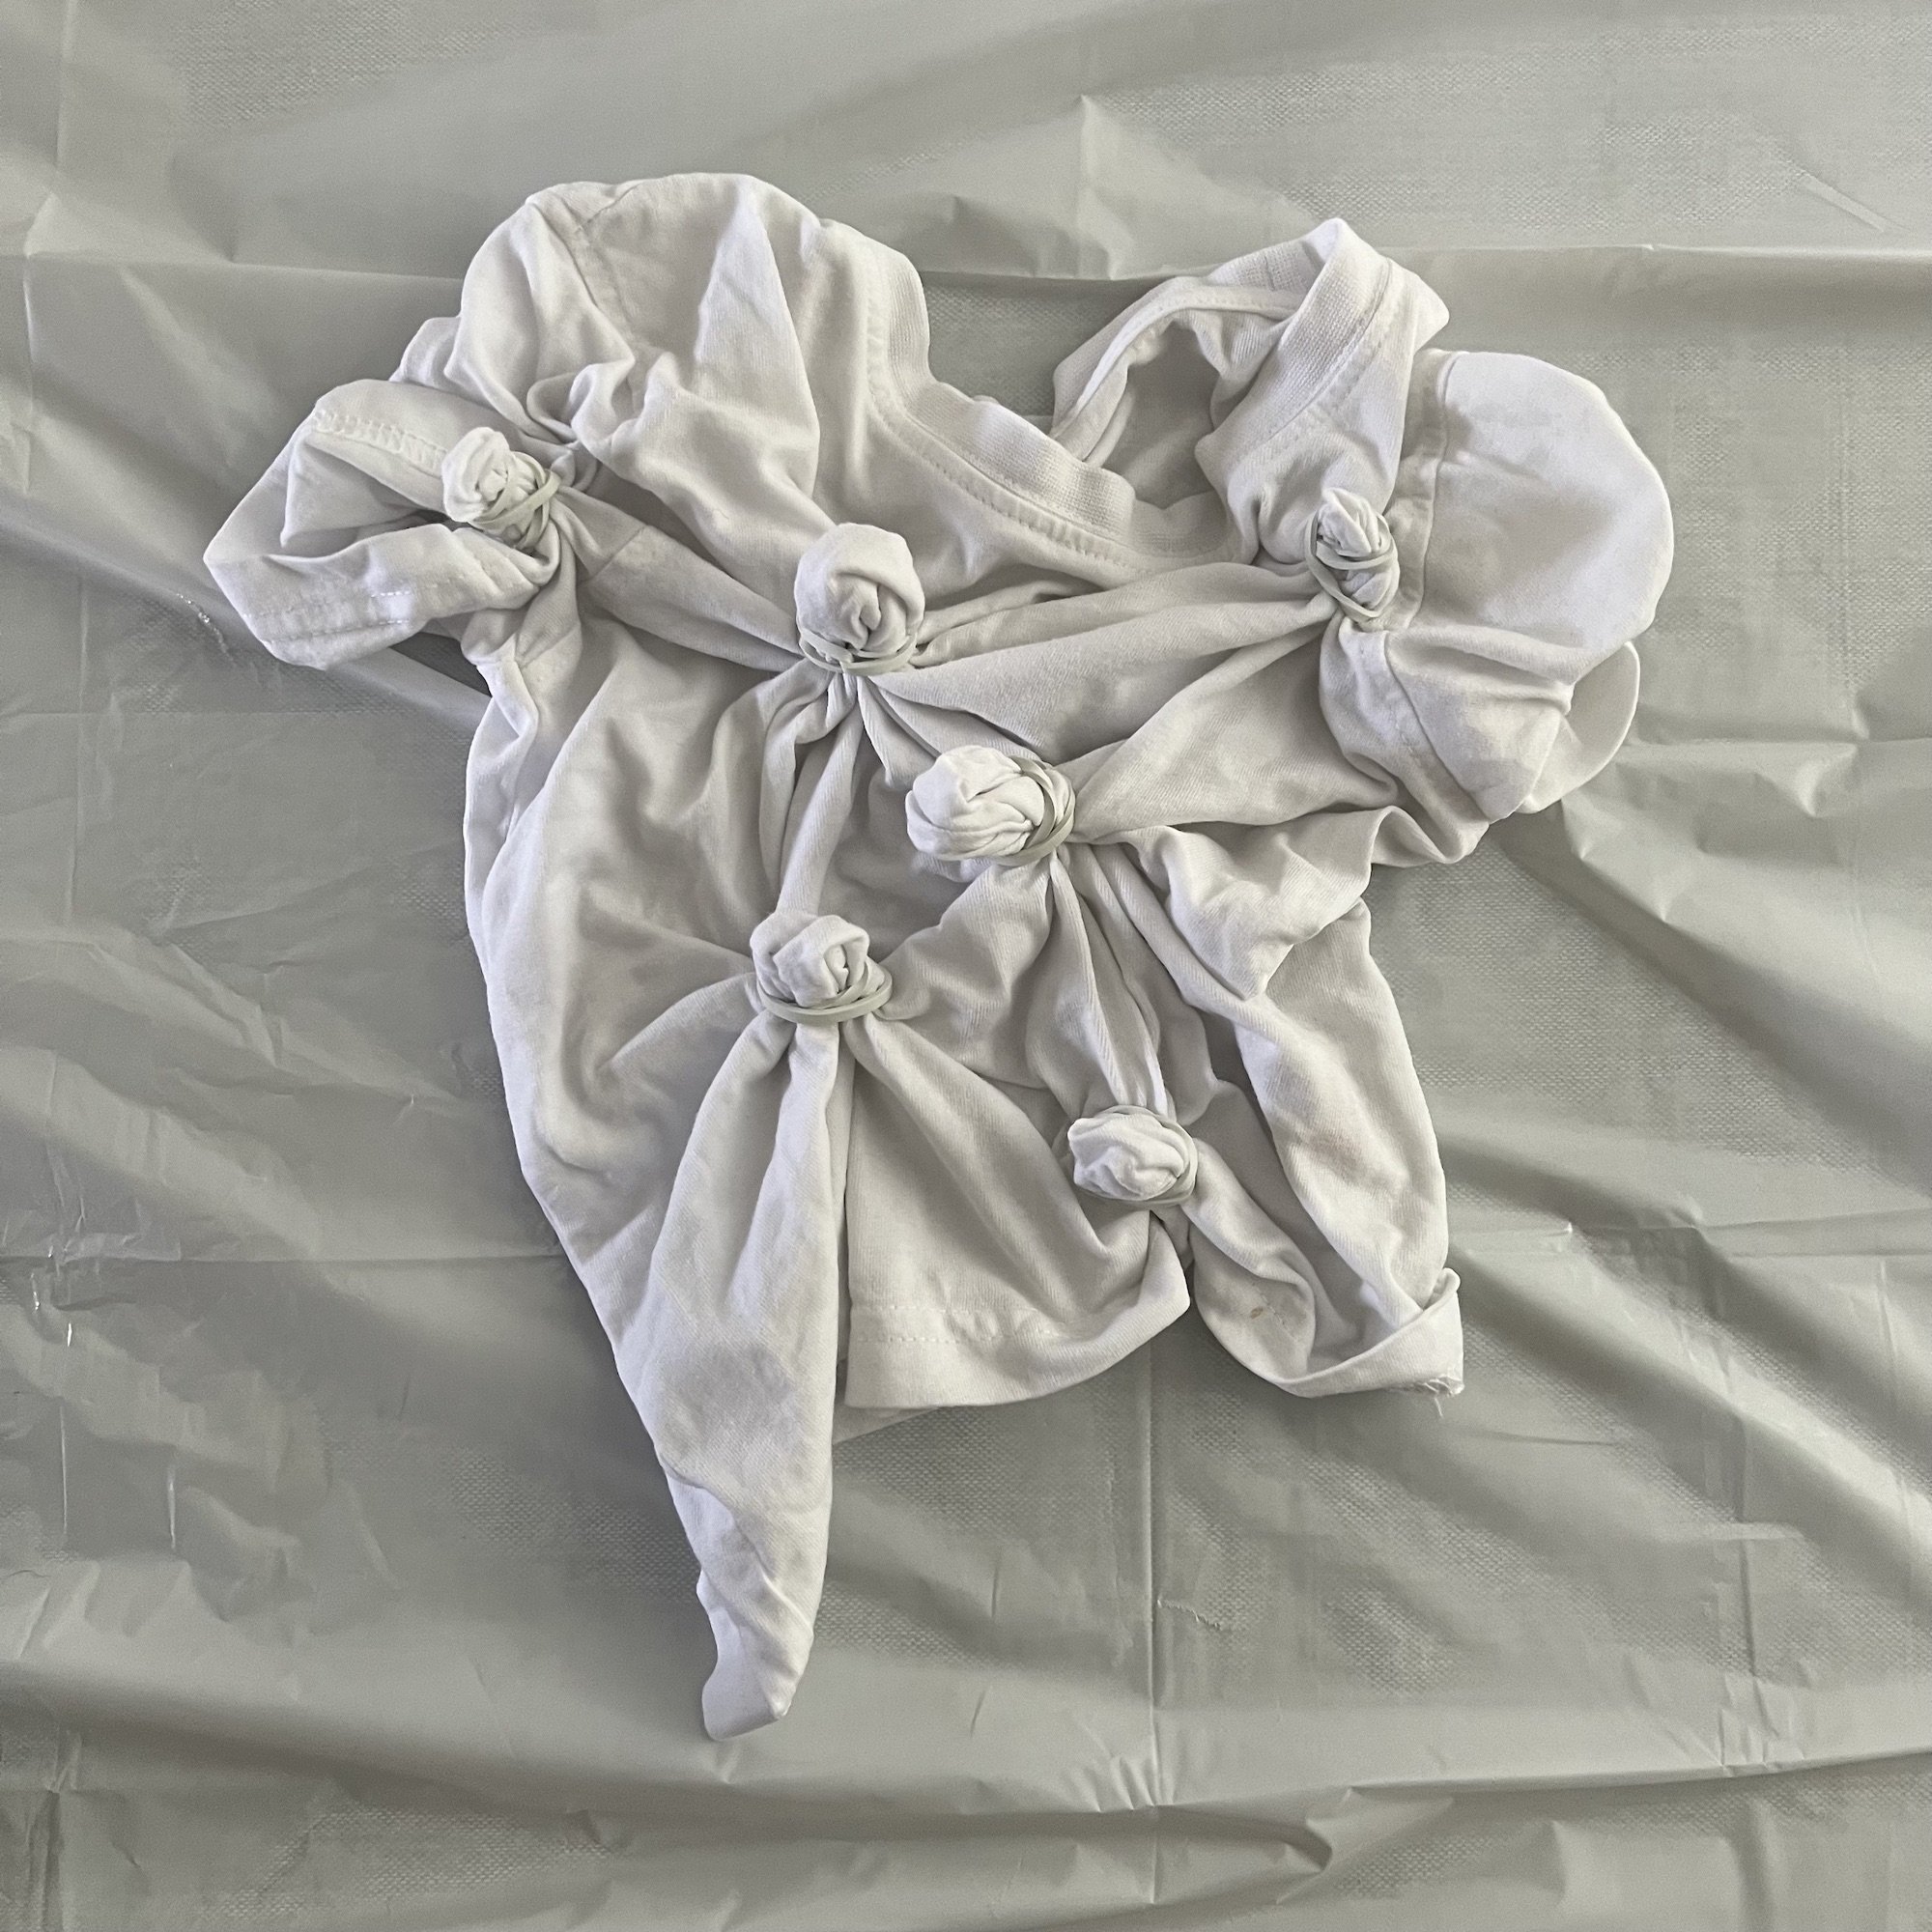
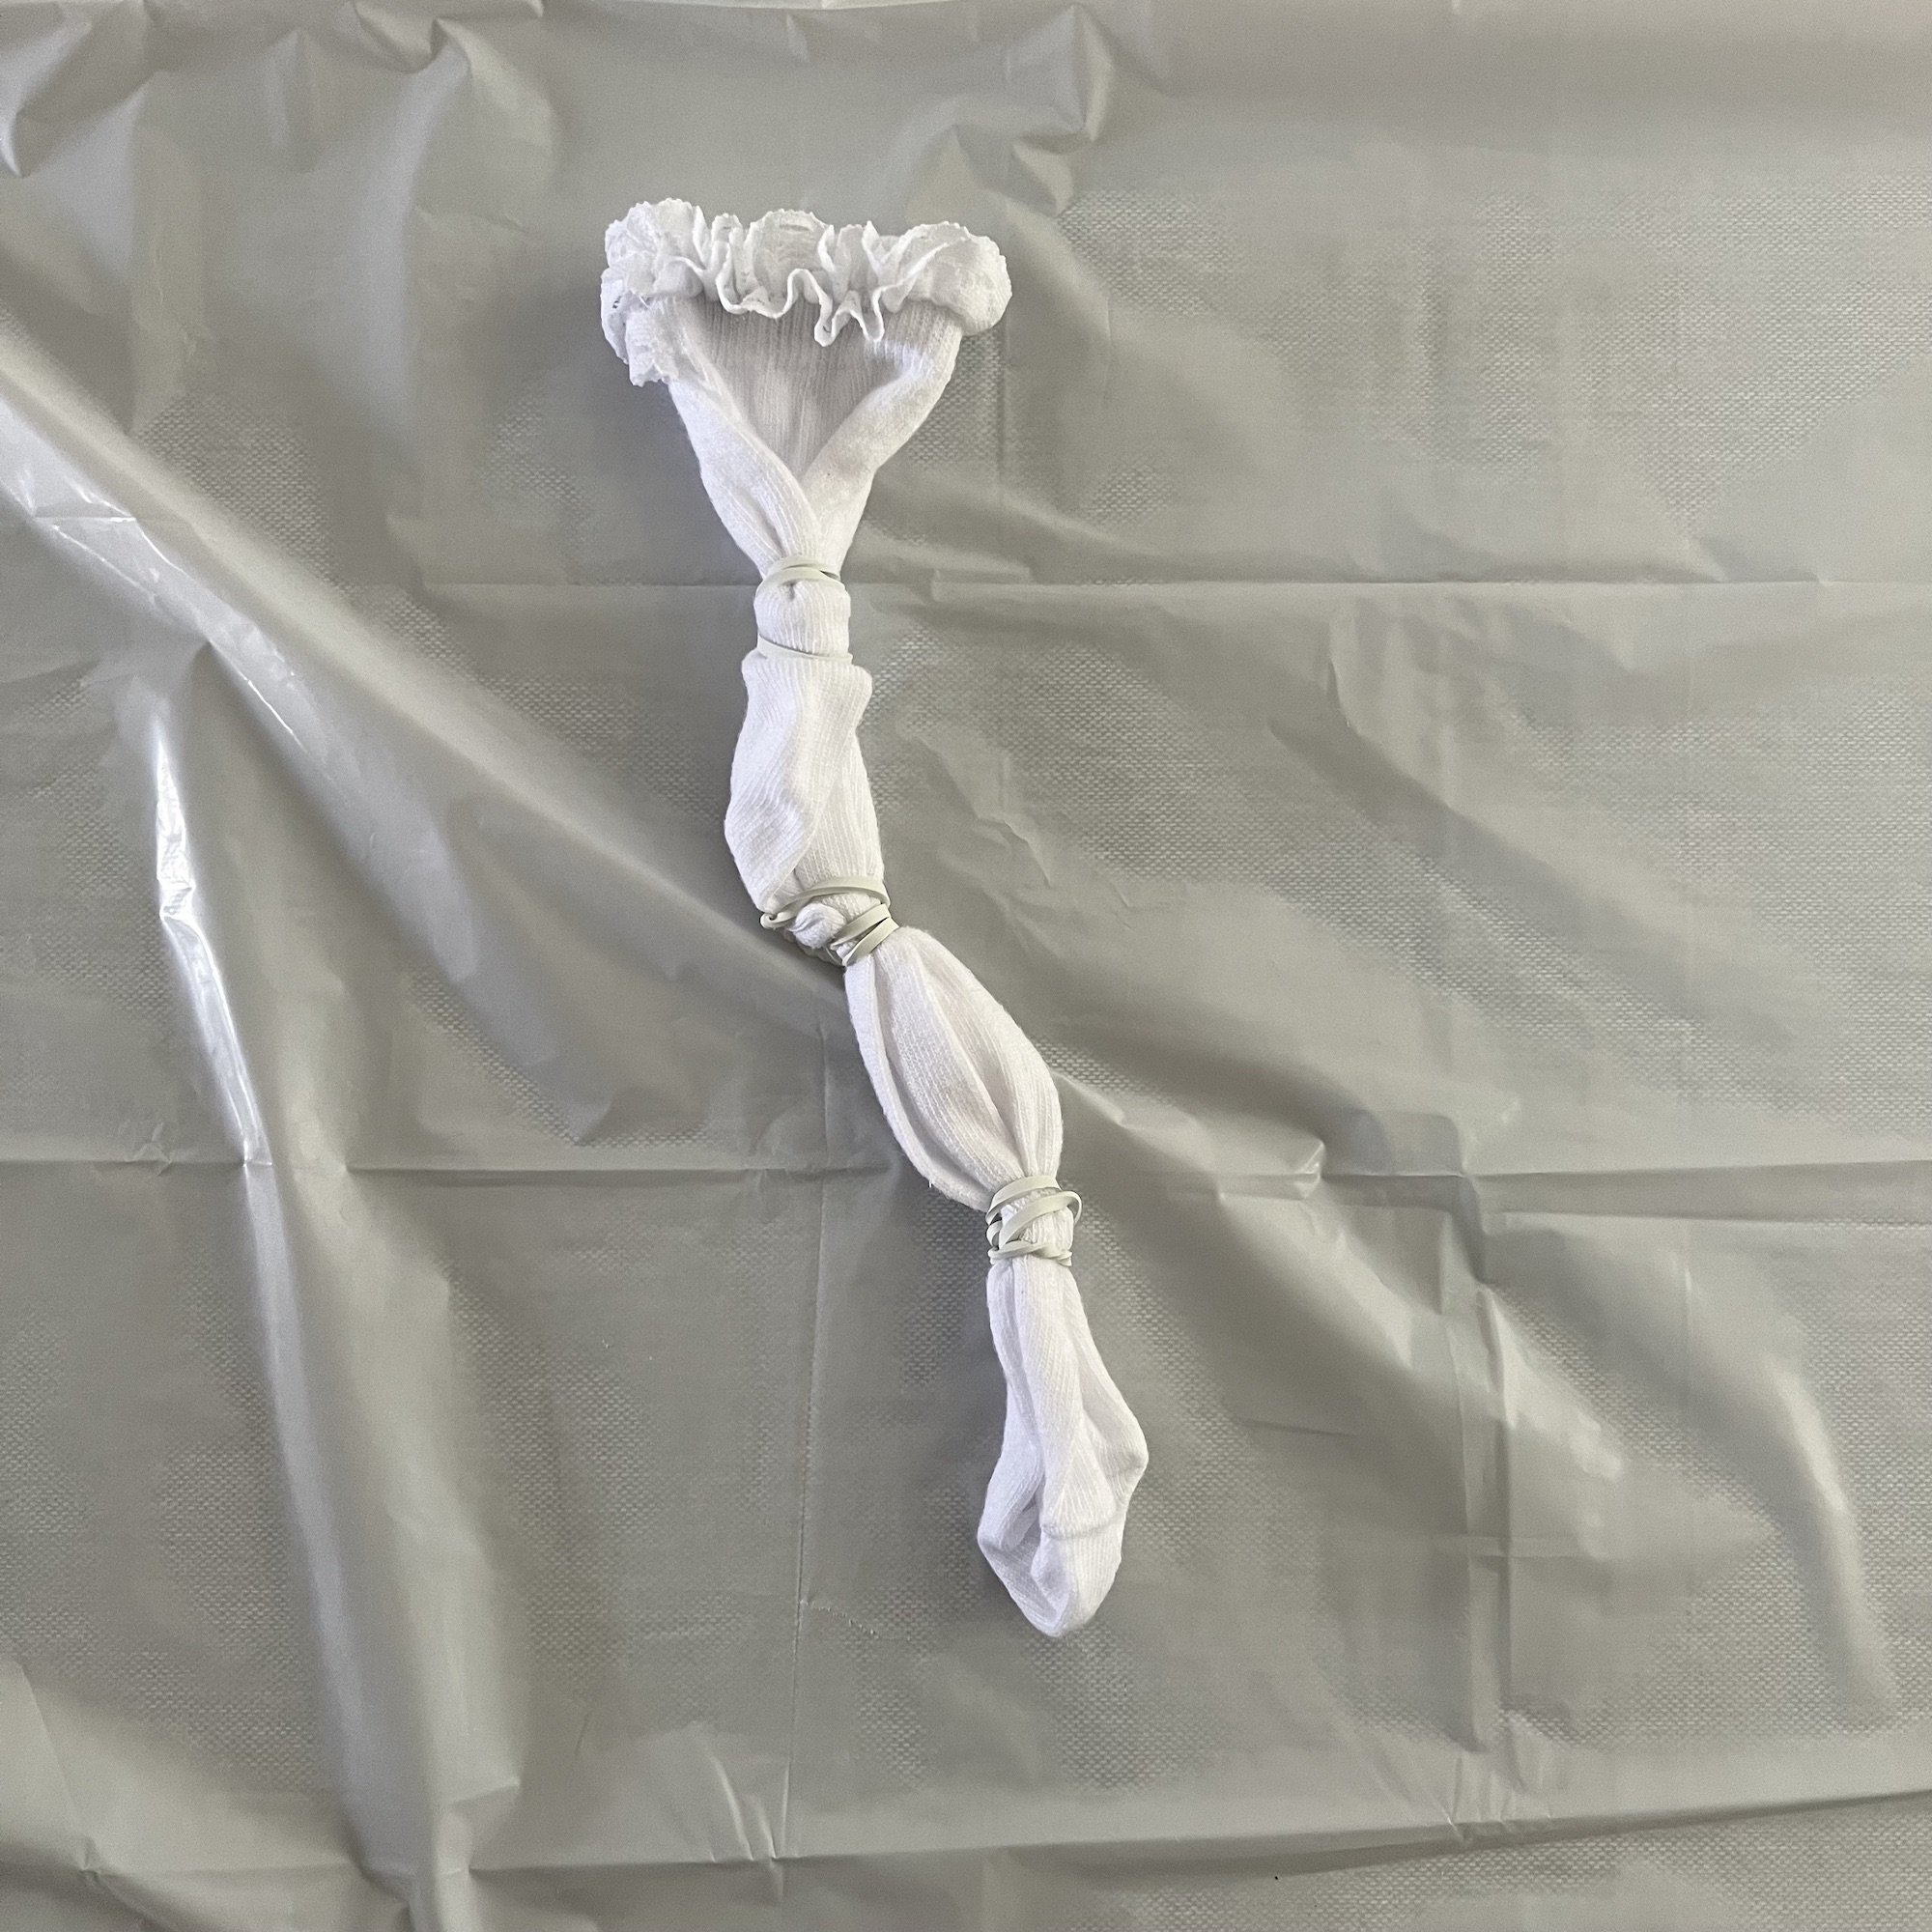
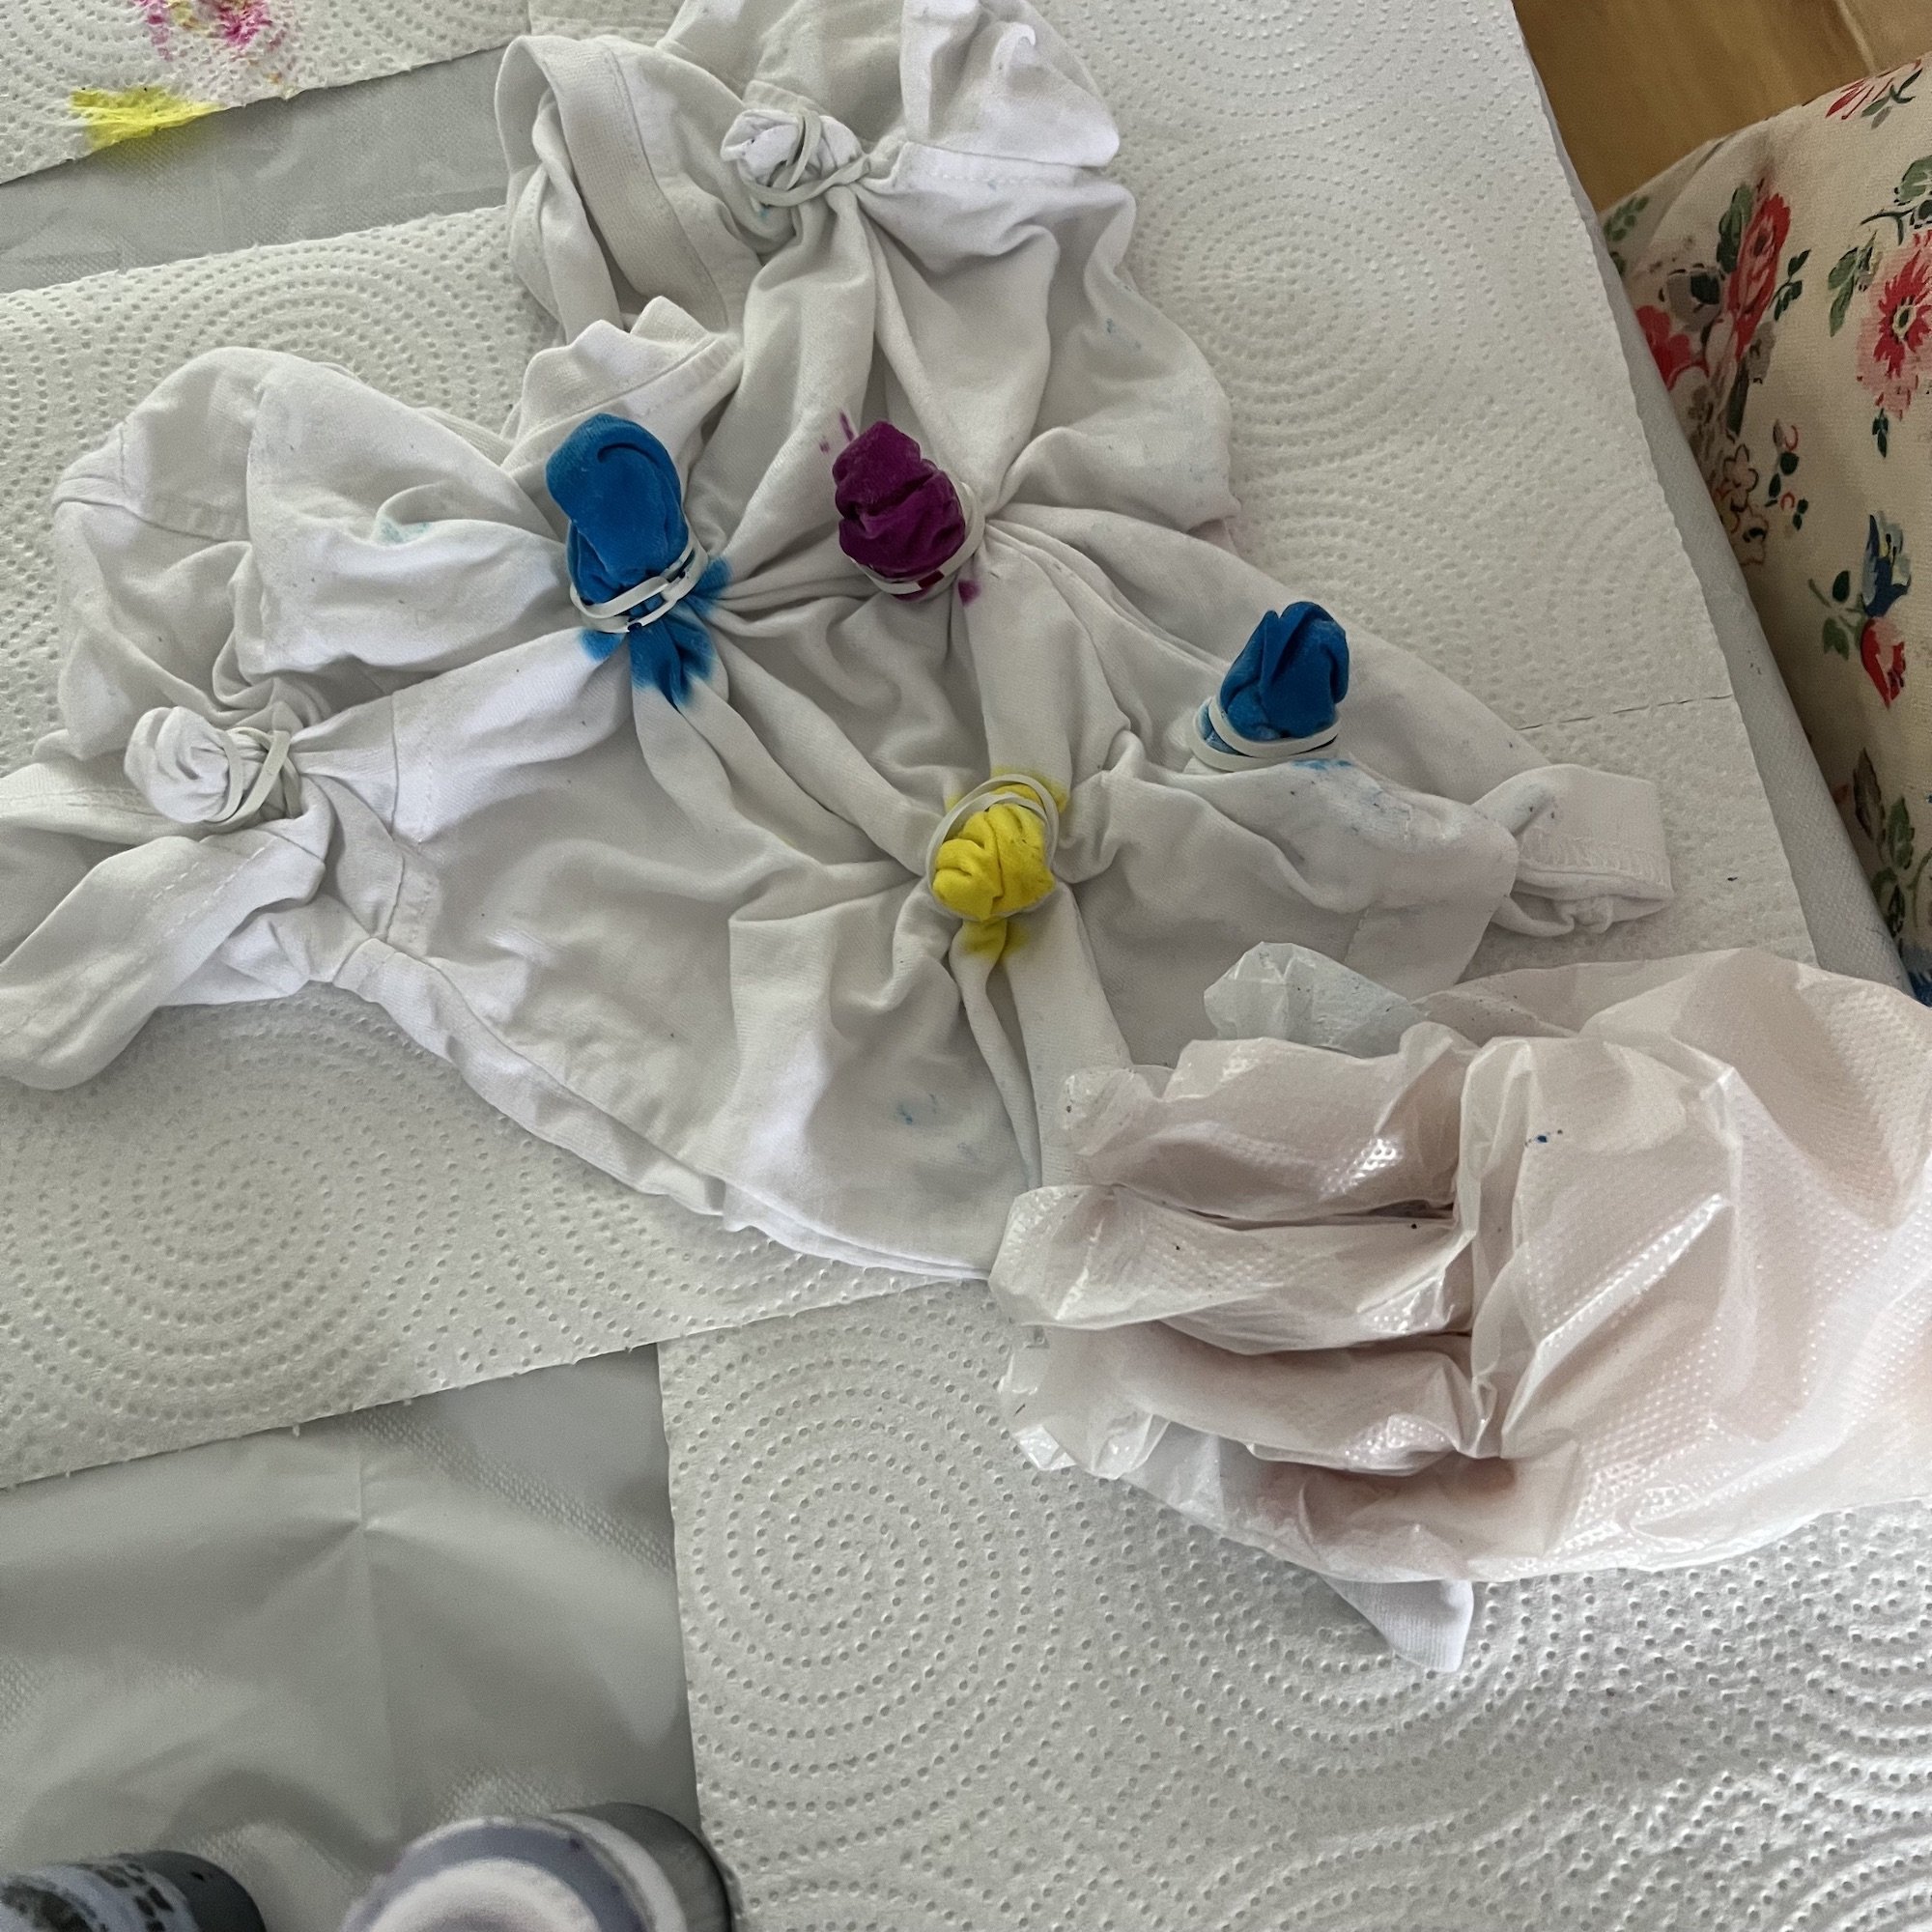
Note: You can apply the dye once the clothes are dry, but we found it easier to do it when they were damp.On the instruction sheet, there are some examples of how to achieve different tie dying techniques, such as ‘Folding’, ‘Swirl’ and ‘Sunburst’. Choose a technique, then use the rubber bands to bound the items of clothes in the manner needed to achieve the chosen style.
Put on protective gloves at this stage, they are included in the kit.
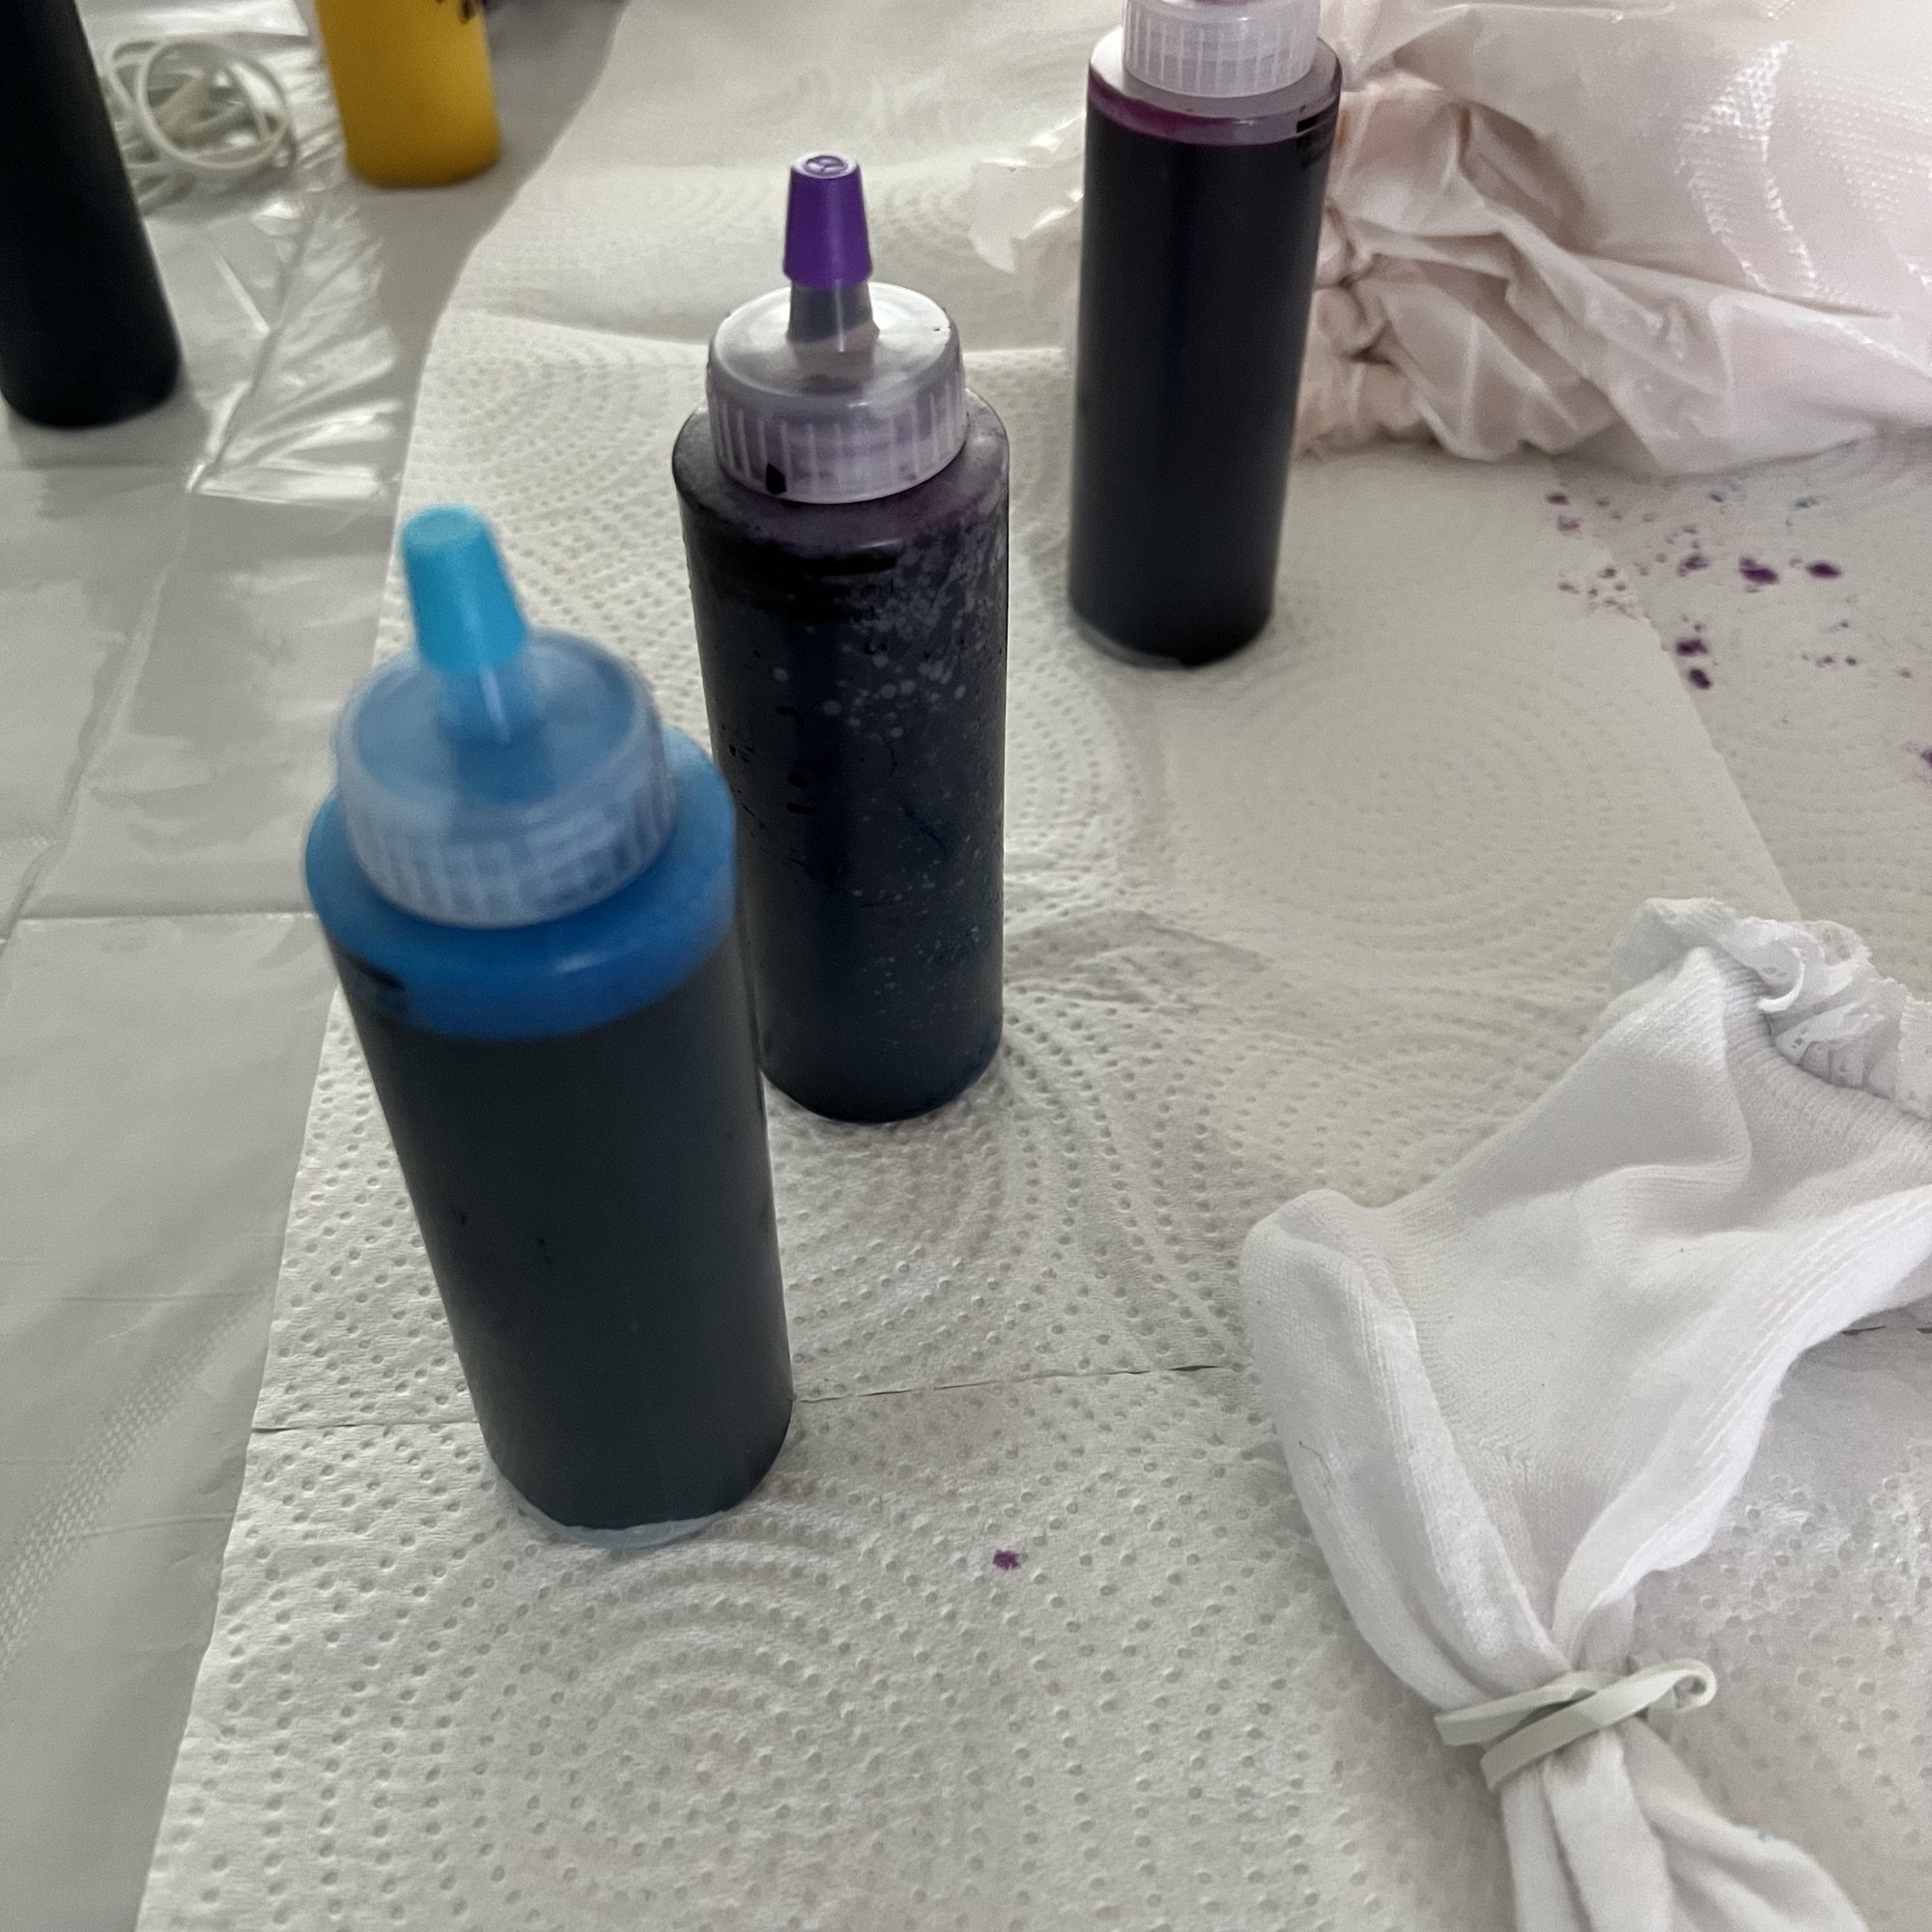
Choose the dye colours you want to use and fill the bottles with water up to the line. Make sure to replace the cap tightly. Shake until the dye is dissolved.
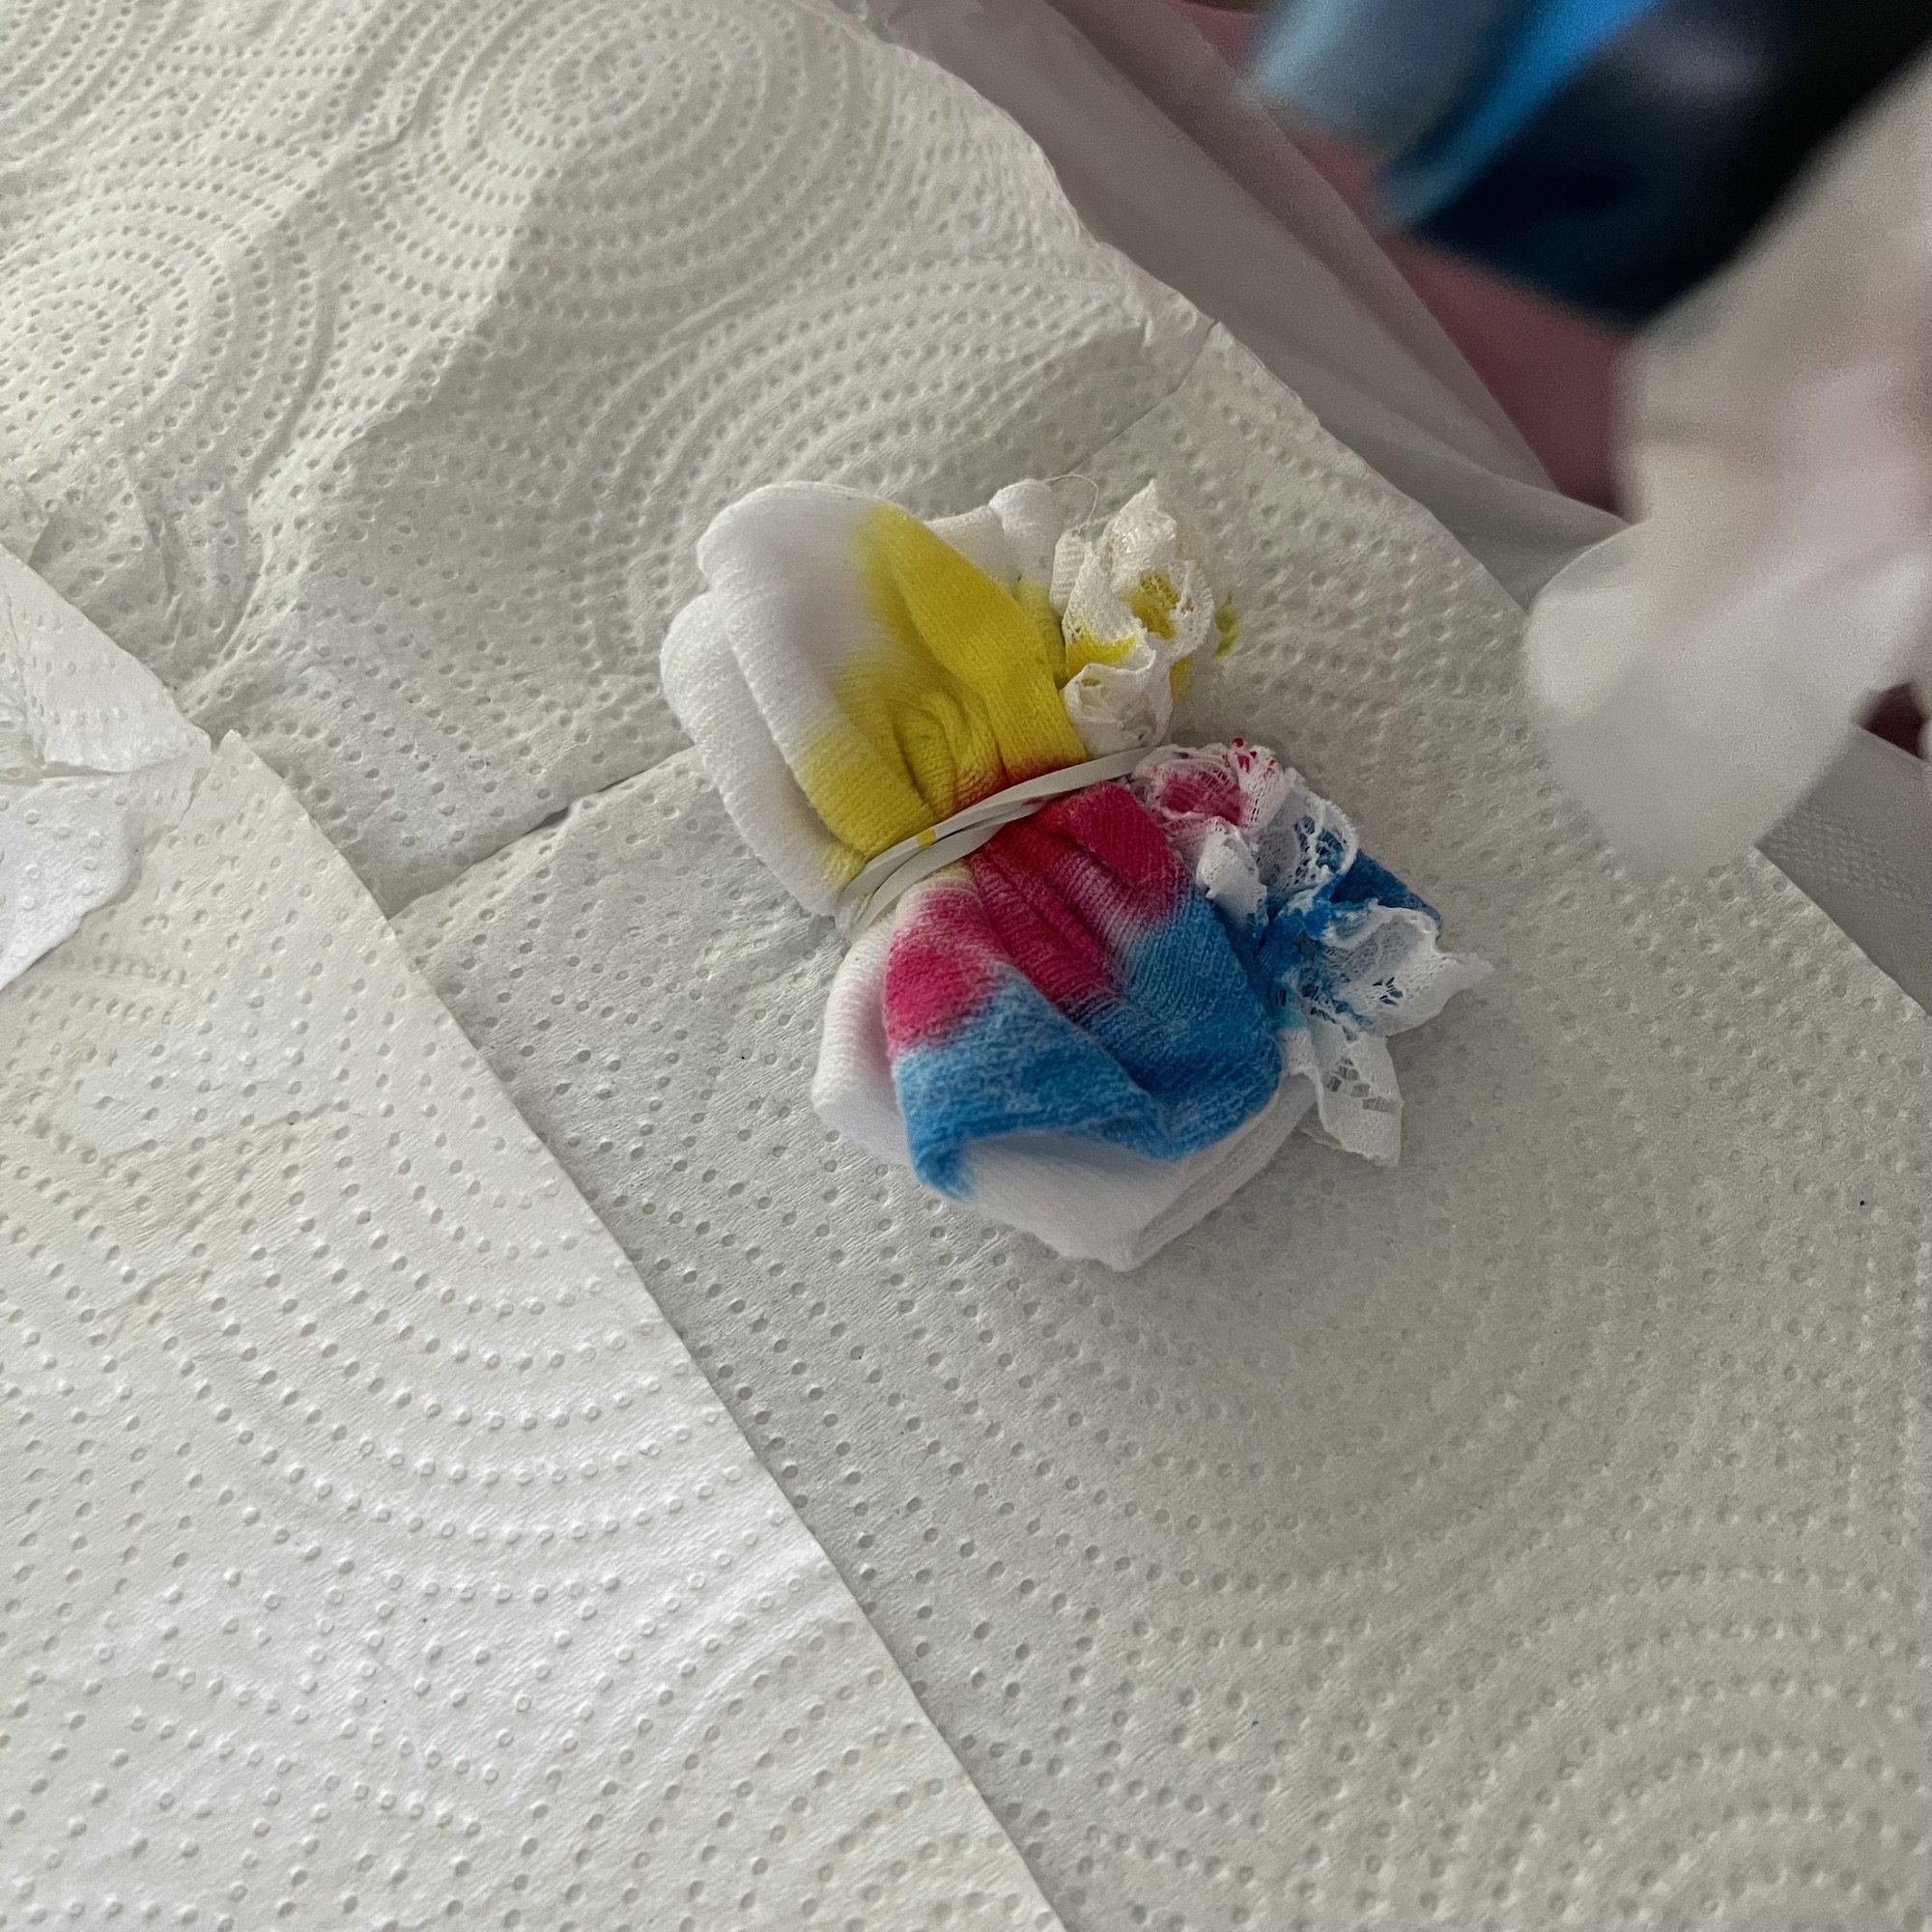
Note: Apply the dye within 72 hours after mixing.Dye the fabric. The squeezy bottles of dye are perfectly designed to easily apply different colours to the clothes. Make sure the dye has been applied into the folds, but be careful not to over-saturate the fabric. Try not to apply the colours too close together, to avoid muddy colours.
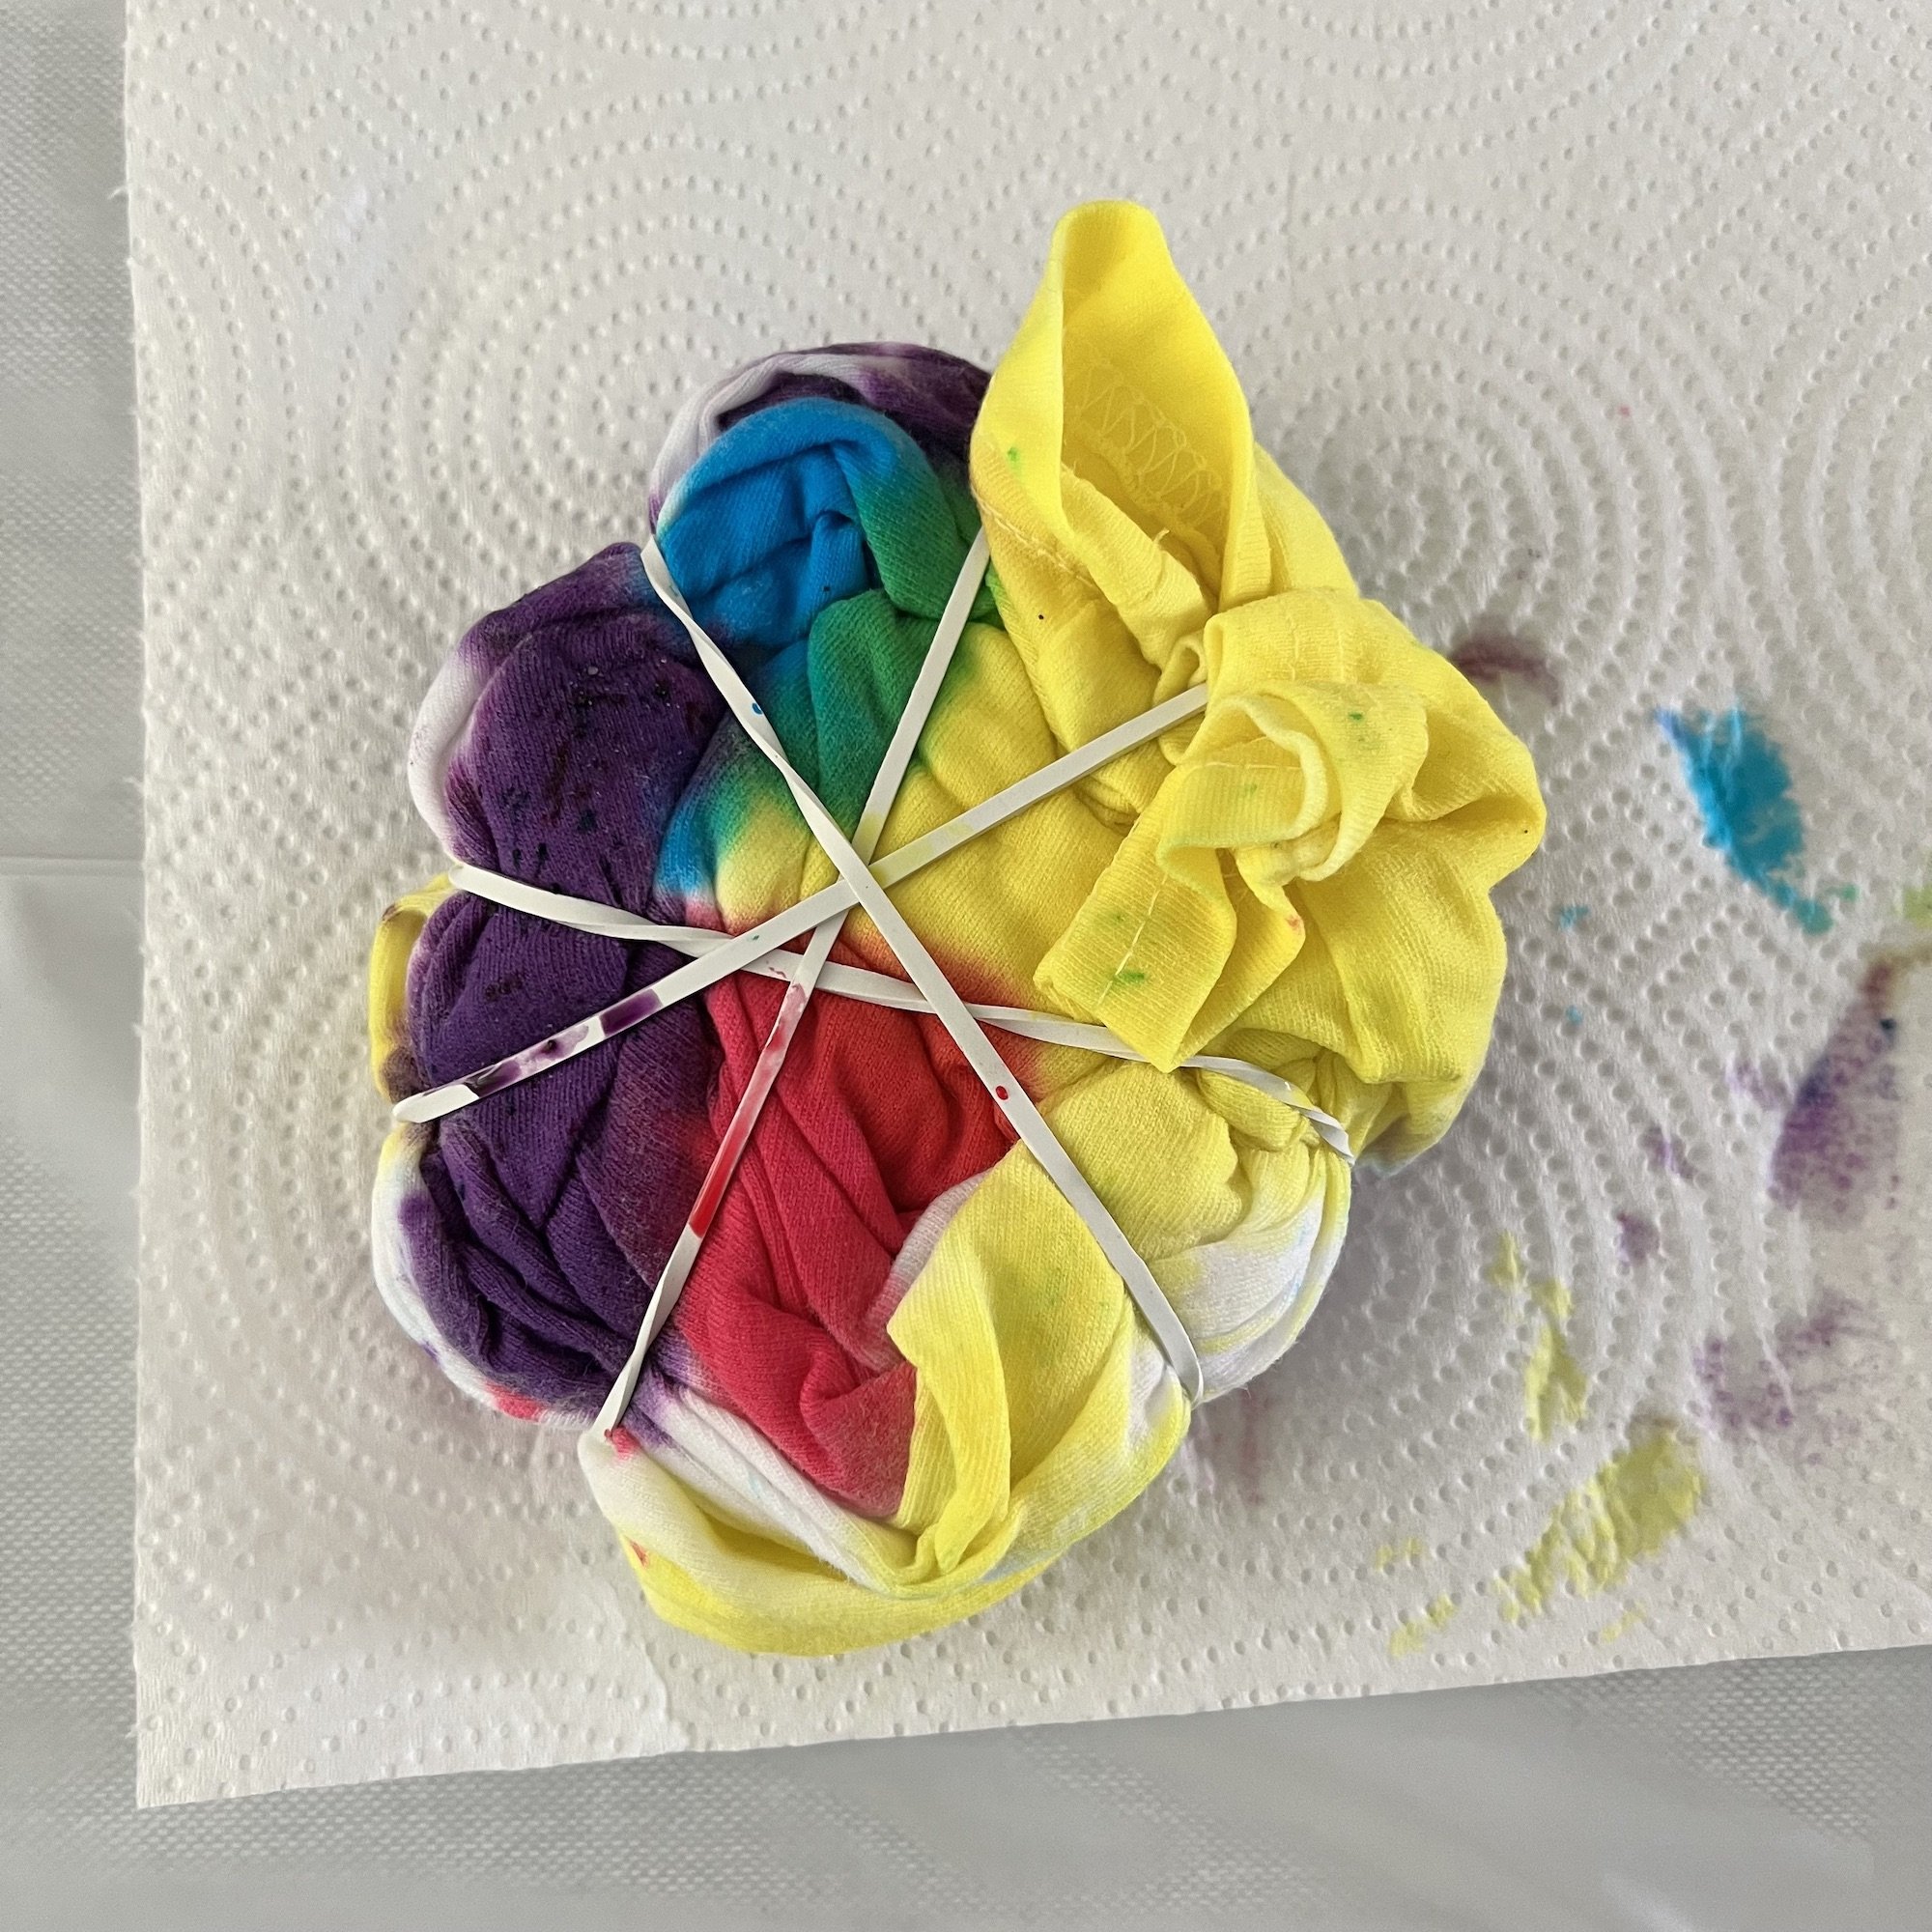
Once you have applied the dye, place the items into a plastic bag to keep them damp and leave them for 6-8 hours (the longer the fabric is left, the more intense the colours will be).
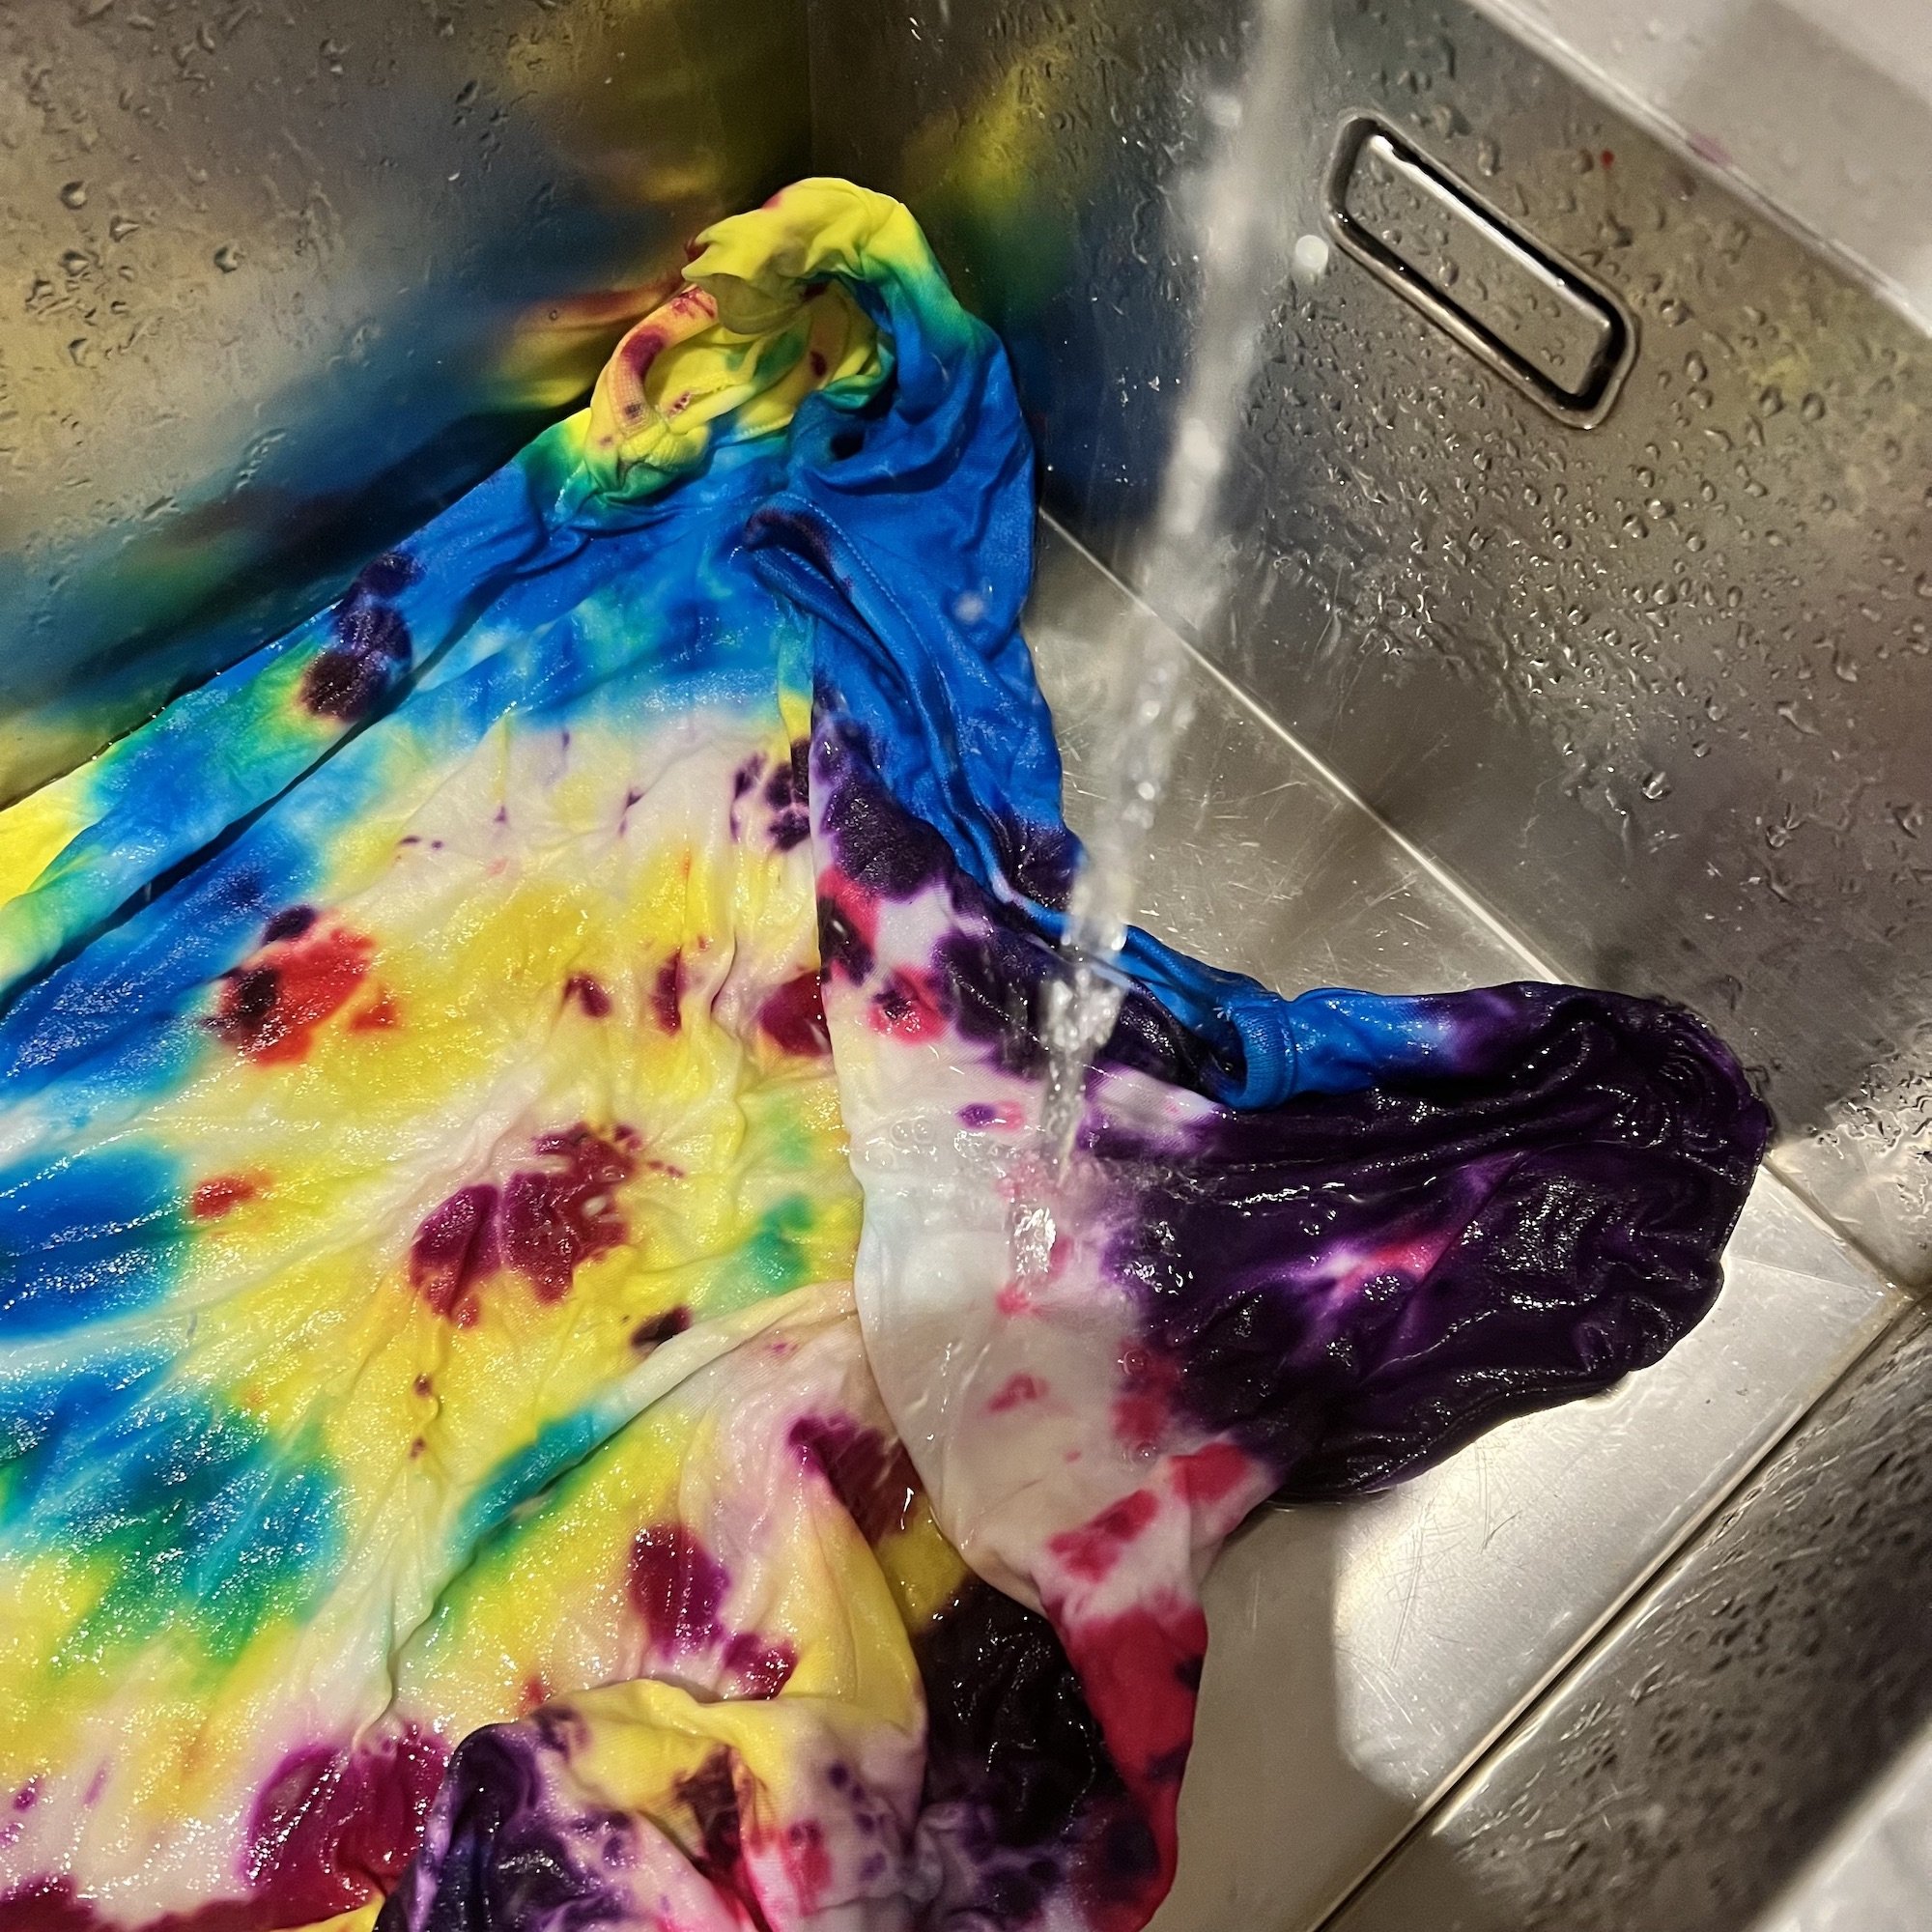
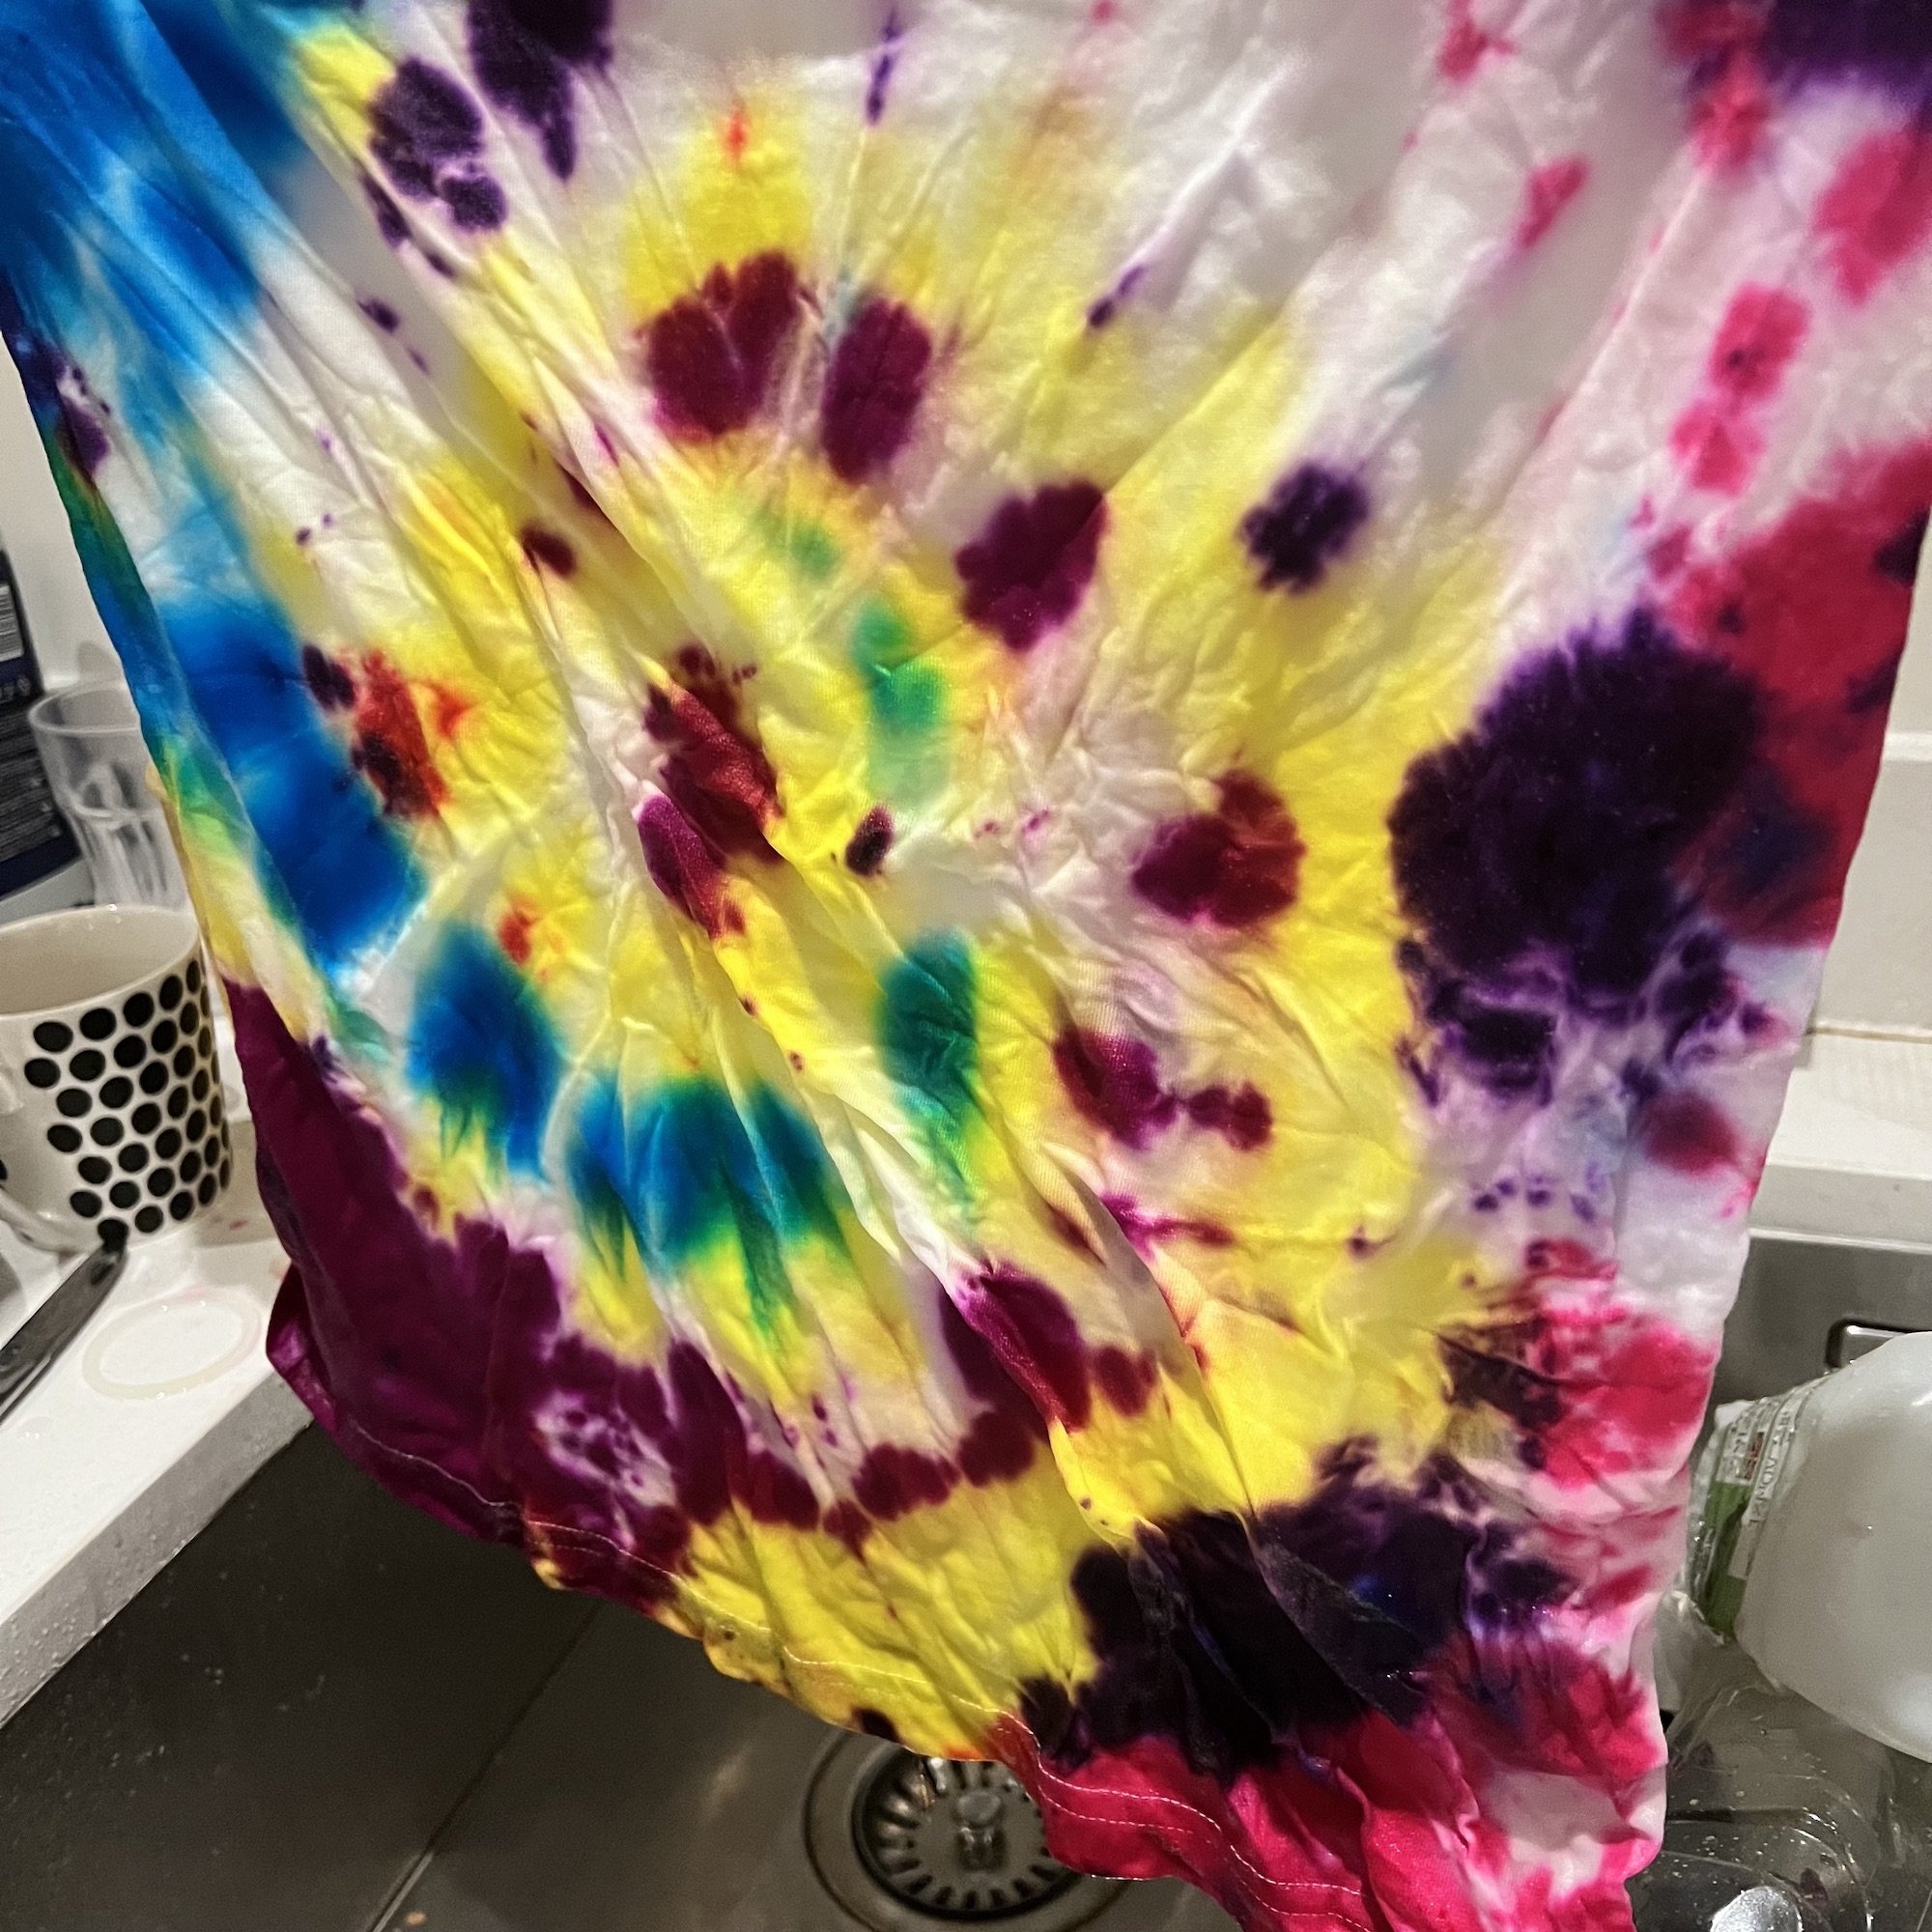
When the time is up, thoroughly rinse the clothes until excess dye has been removed. Also remove any rubber bands, cutting them off if necessary.
Finally, wash the clothes on a ‘large load’ (if you have this option) and on a high heat setting, with a small amount of detergent.
Note: Wash the tie dye items separately for the first few washes.
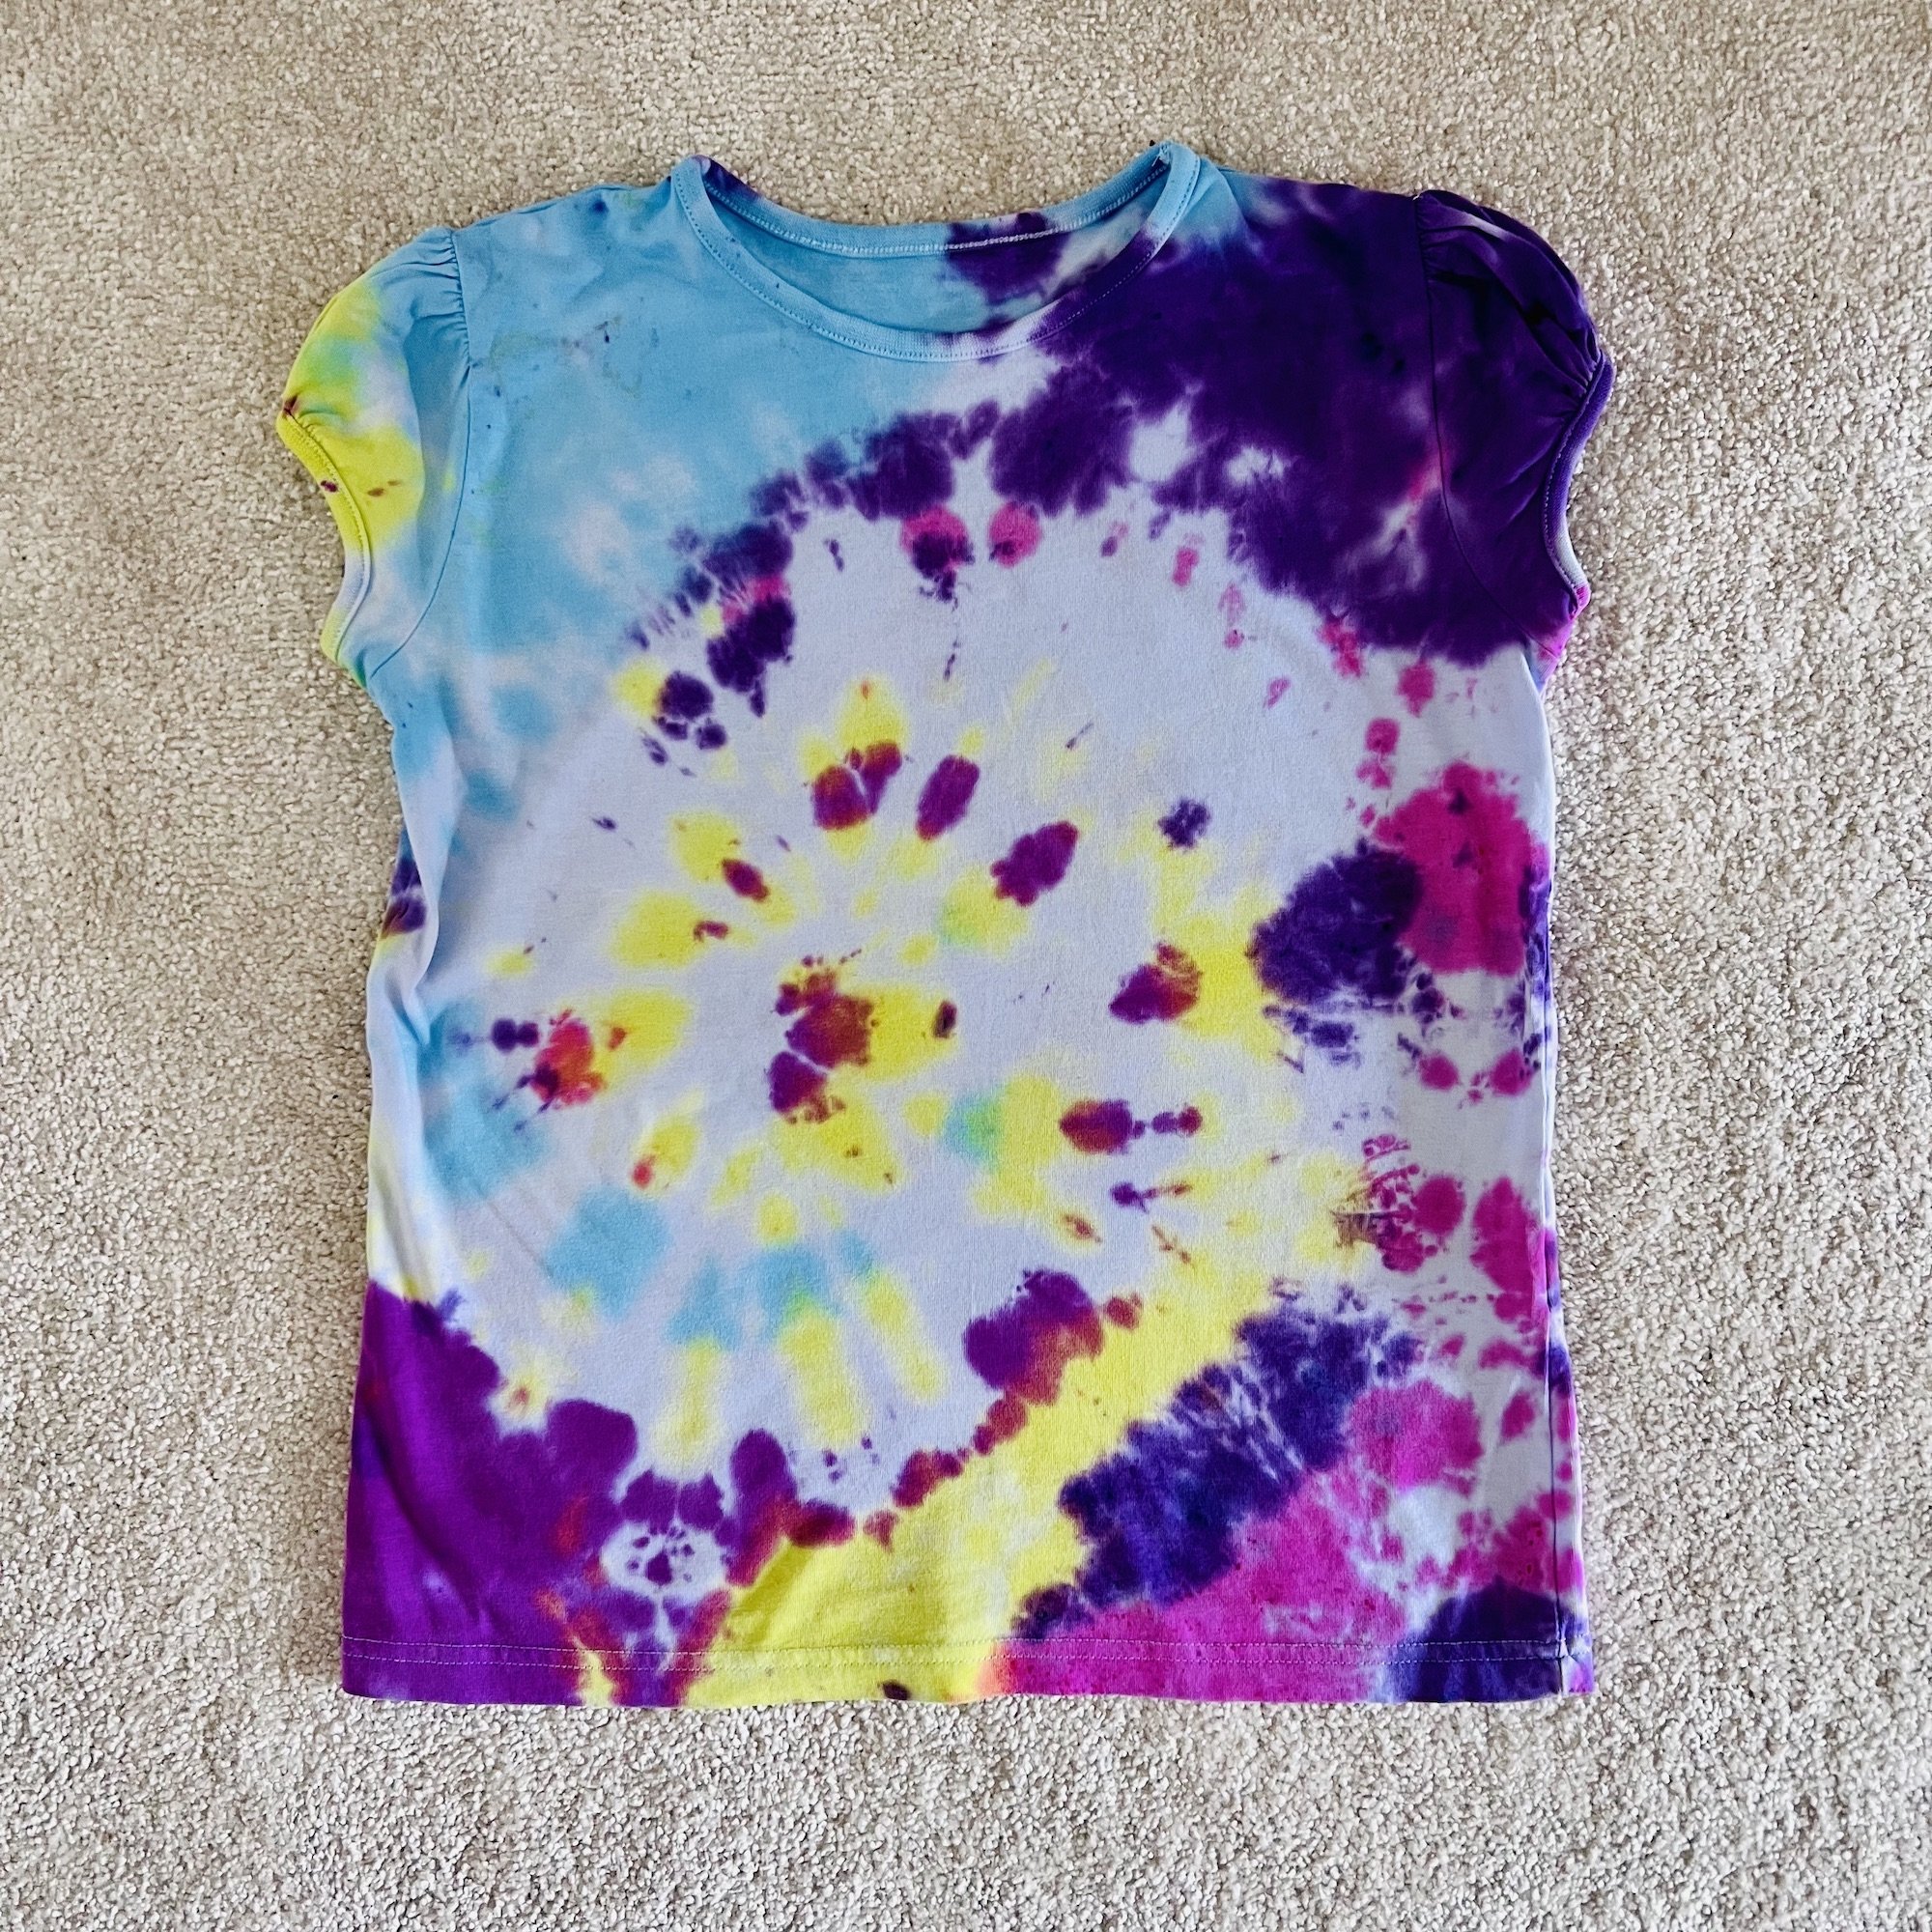
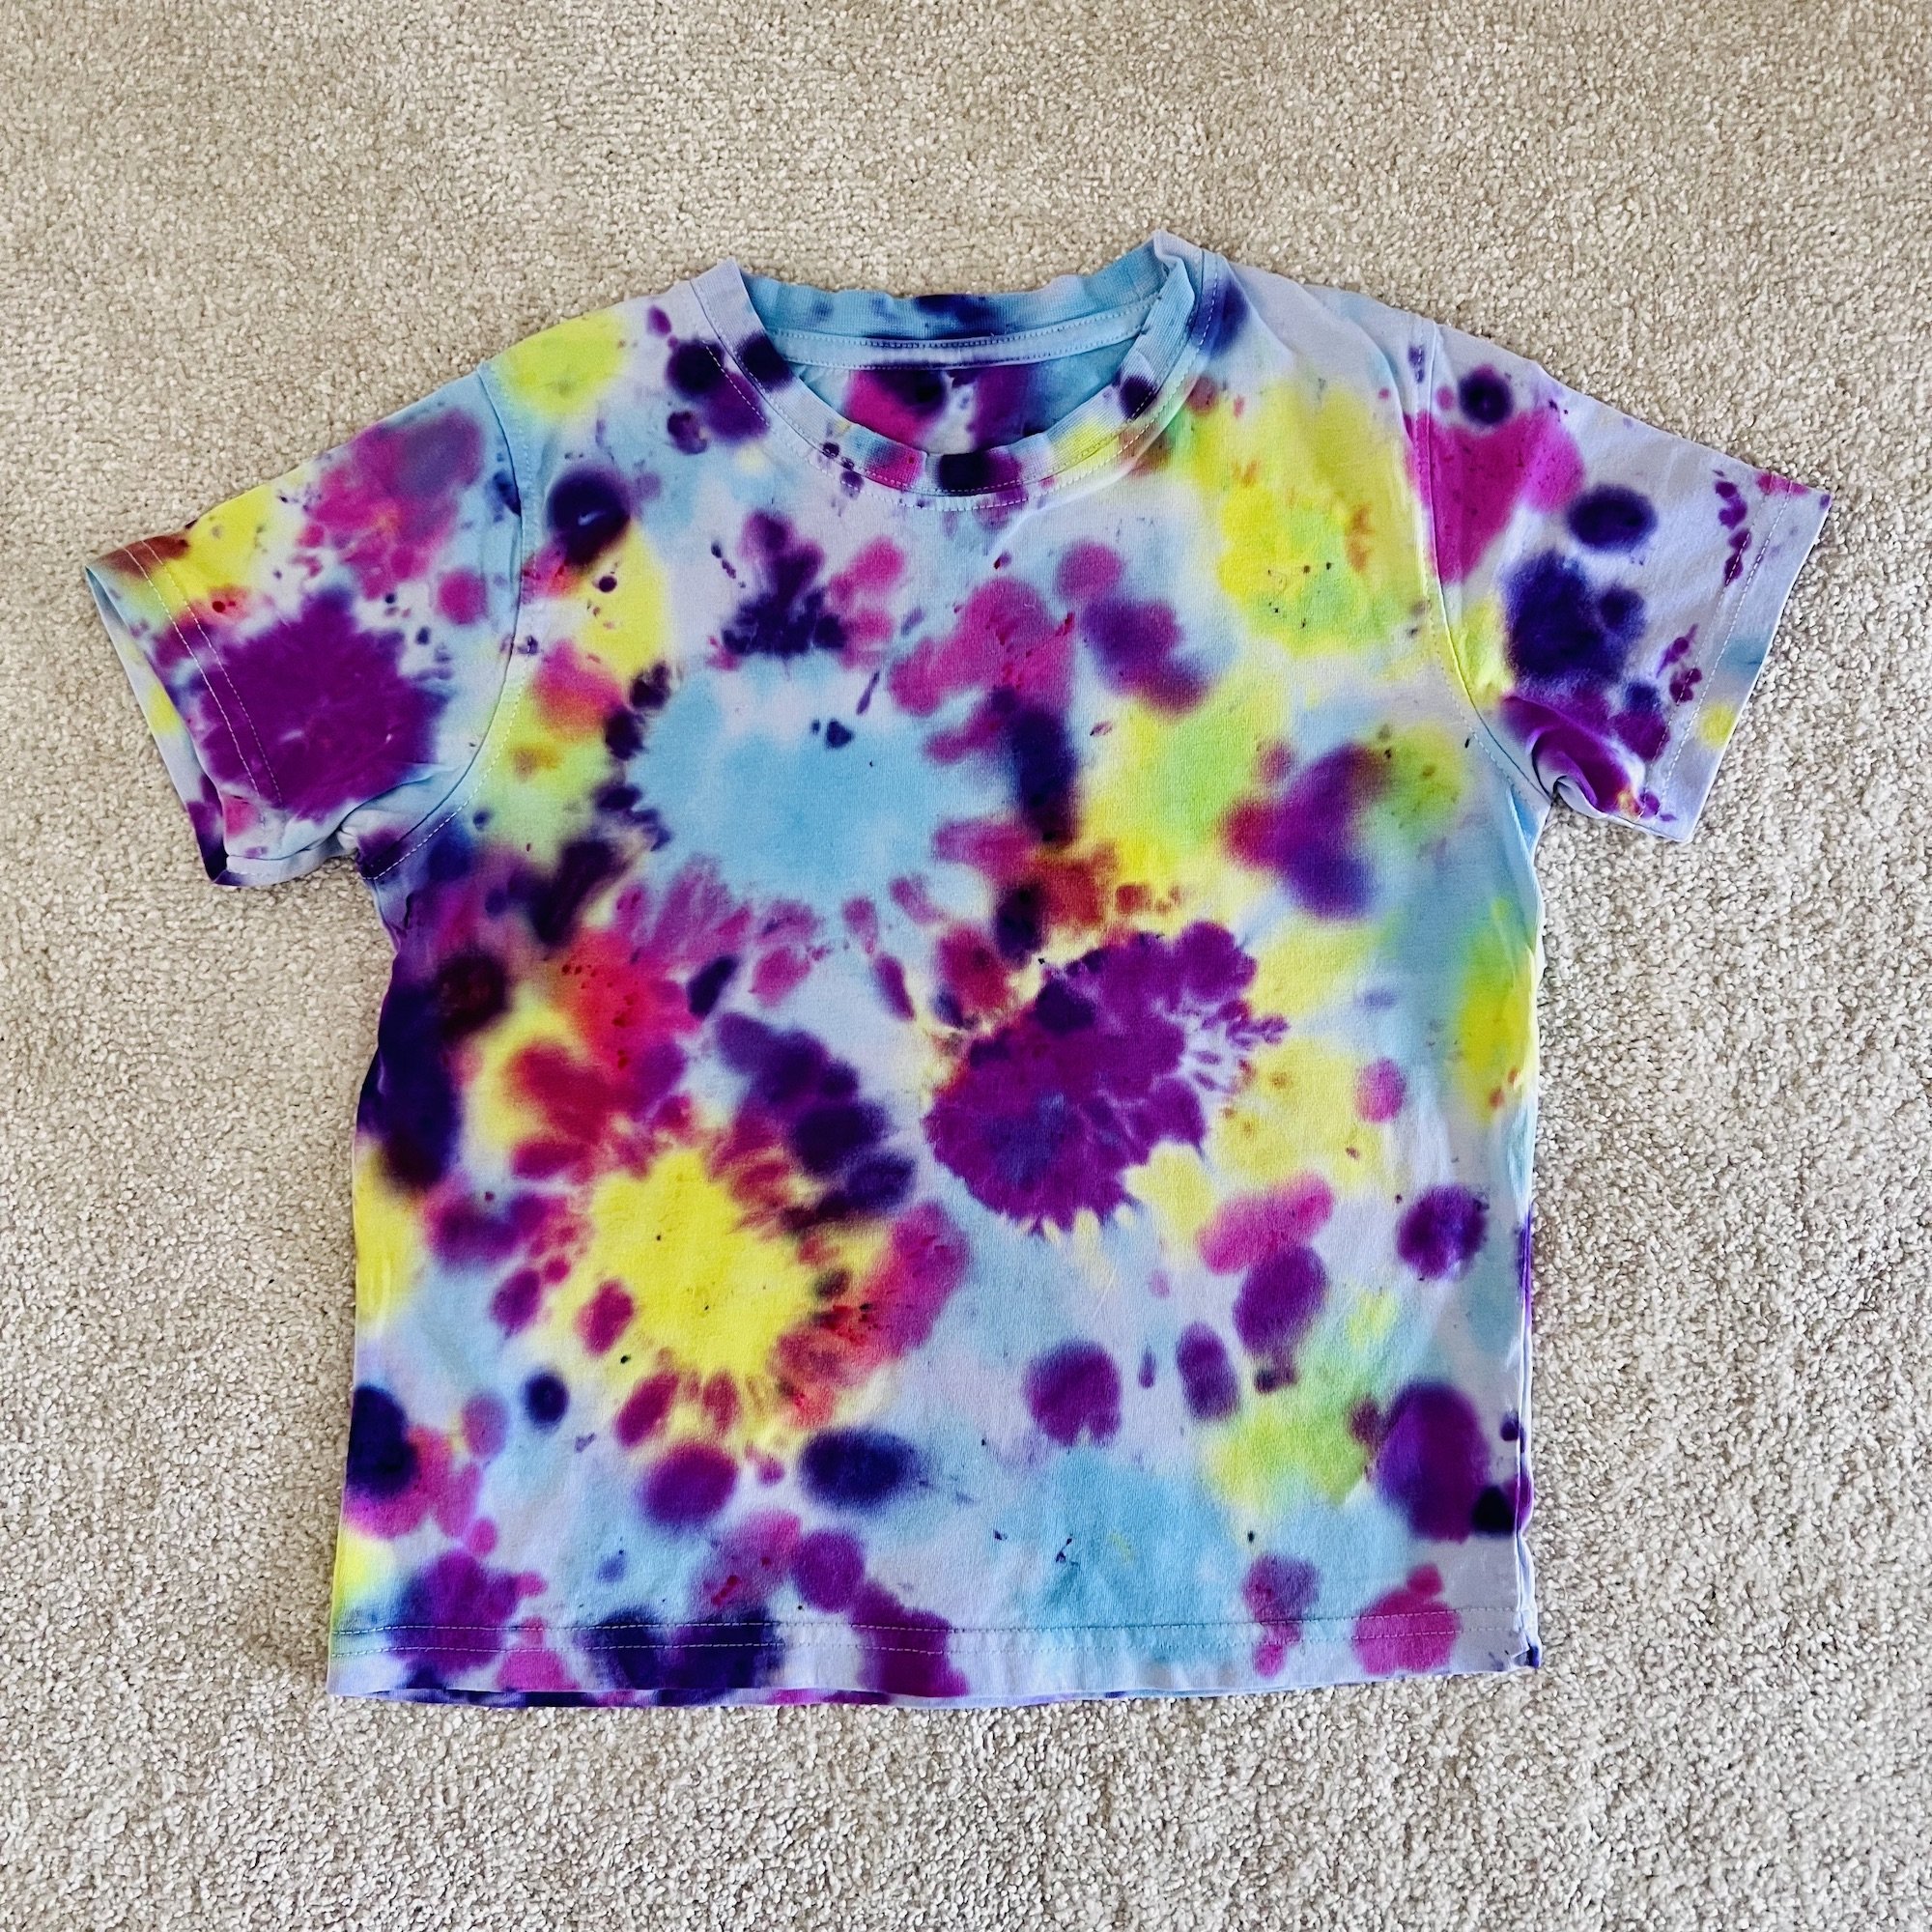
The Tie Dye Gallery
Conclusion
I would definitely recommend this kit. It is very easy to use and it comes with so many bottles of dye that you can use it over and over again. It is simple for children to get good results, with only a little guidance needed from an adult. I like that there are some examples of different tie dying techniques, giving lots of ideas of methods to try. My only negative point is that I really loved the vibrant colours of the dyes when I was rinsing the items and felt they lost a lot of the vibrancy once they had been through a wash cycle, although I have found this is usually the case with tie dyed clothes. Overall, my children really enjoyed using this kit and are really pleased with the clothes they created.
I hope you have found this guide helpful and enjoy this activity as much as we do. If you have tried tie dying, I would love to see your creations! You can email me at [email protected].


